List Management > Resend to non-recipients |
Something went wrong mid-campaign so I need to resend to those that didn’t receive it

Various sending errors can happen with Gmail. And when one happens mid-campaign, it can affect which recipients actually do and don’t get your messages.
Here’s what to do if there’s an issue mid-campaign and you need to send a new version of your campaign to those who didn’t receive the first one.
And we’ll make sure everyone gets every email (including auto follow-ups) along the way.
Step-by-step guide
Here’s how we’ll make sure everyone gets the correct emails.
1. Pause the first campaign
Just to be safe, we’ll pause your initial campaign. (You never know, there might’ve been a technical glitch that made it stop sending. We don’t want it to start sending again after you’ve set up your new replacement campaign.)
In Gmail, go to your Drafts folder. Find the draft of your campaign.
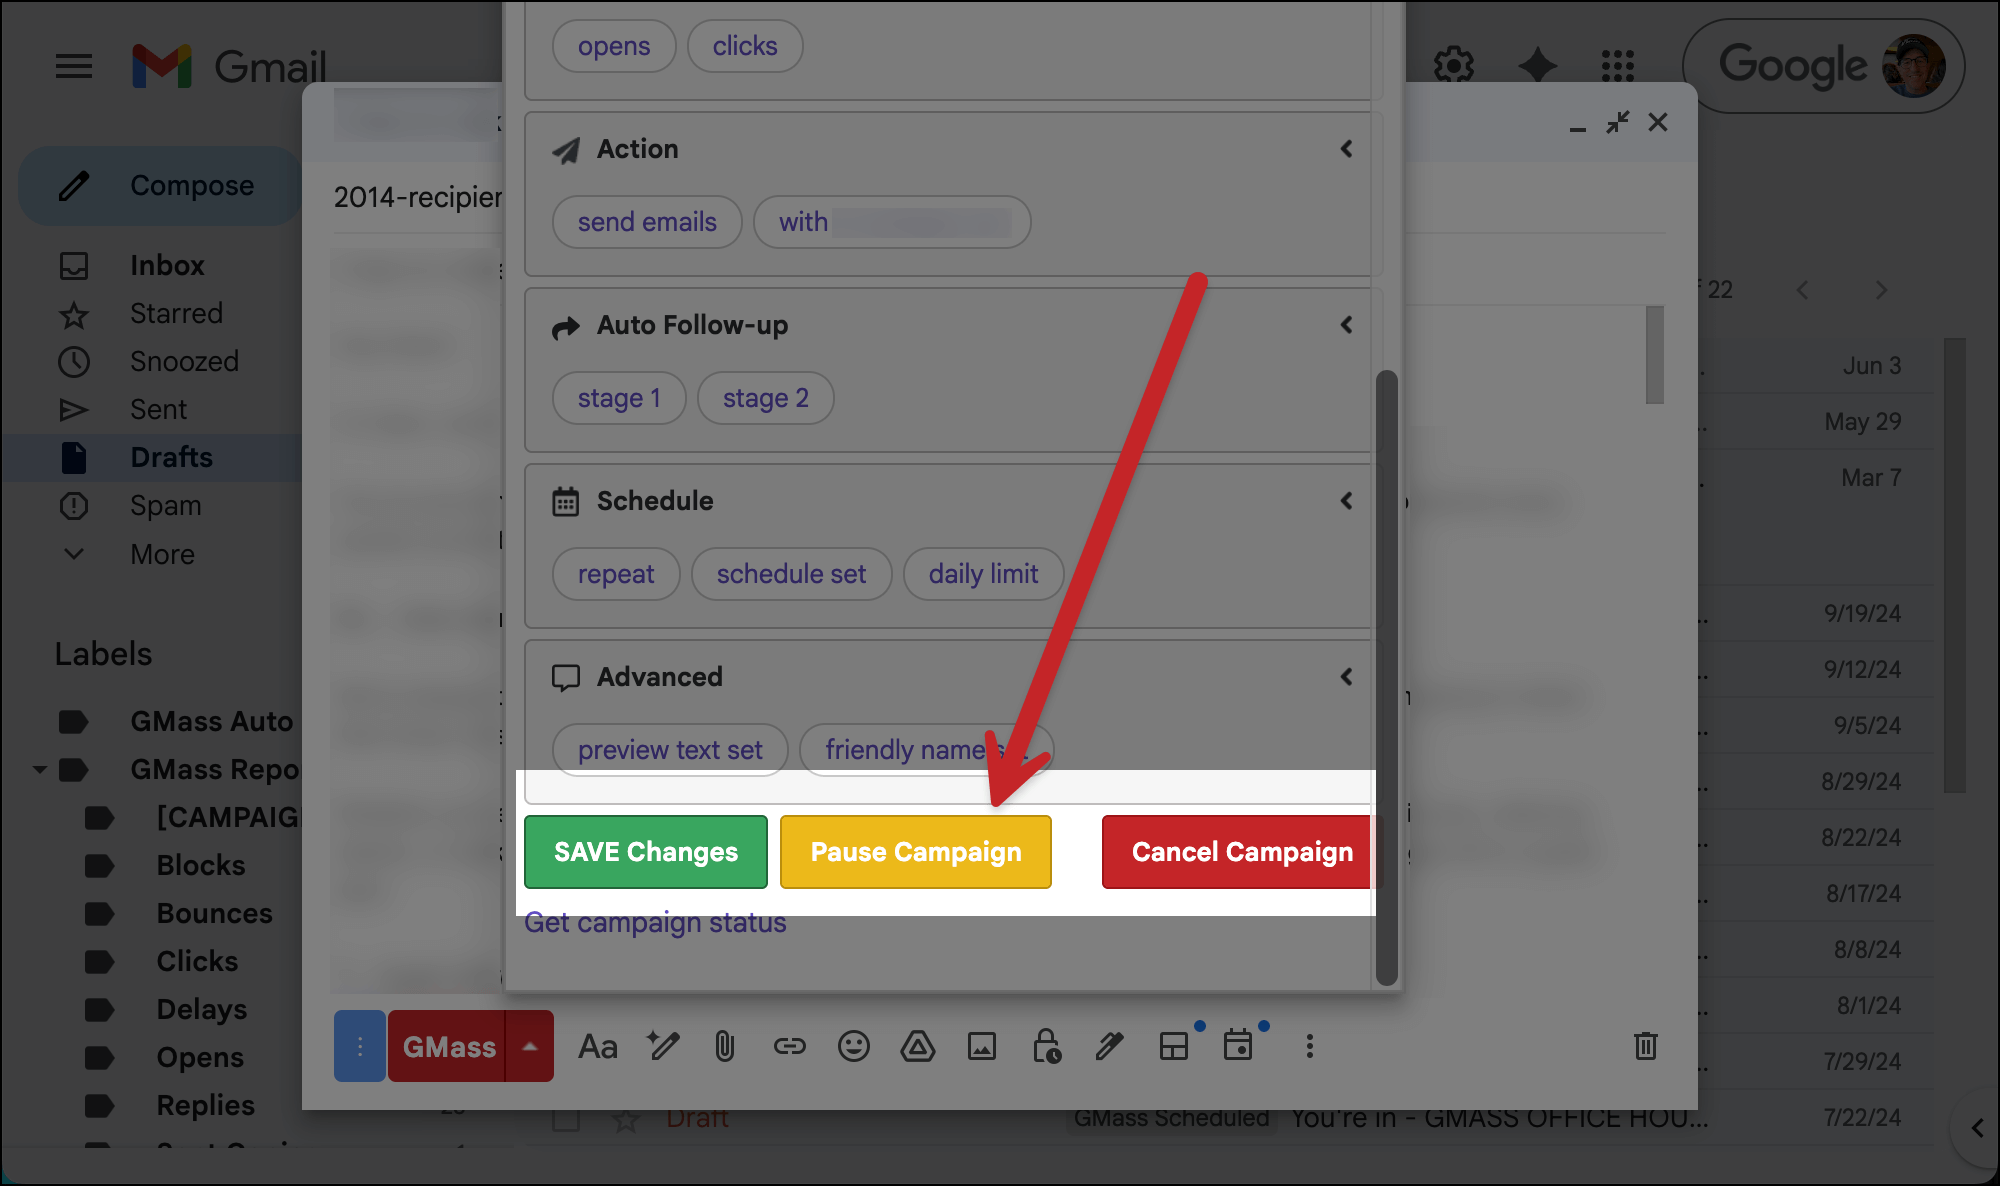
Open the GMass settings box and scroll to the bottom. You’ll see options to Save, Pause, or Cancel the campaign. Click Pause Campaign.
Choose Pause Campaign and pause auto follow-ups.
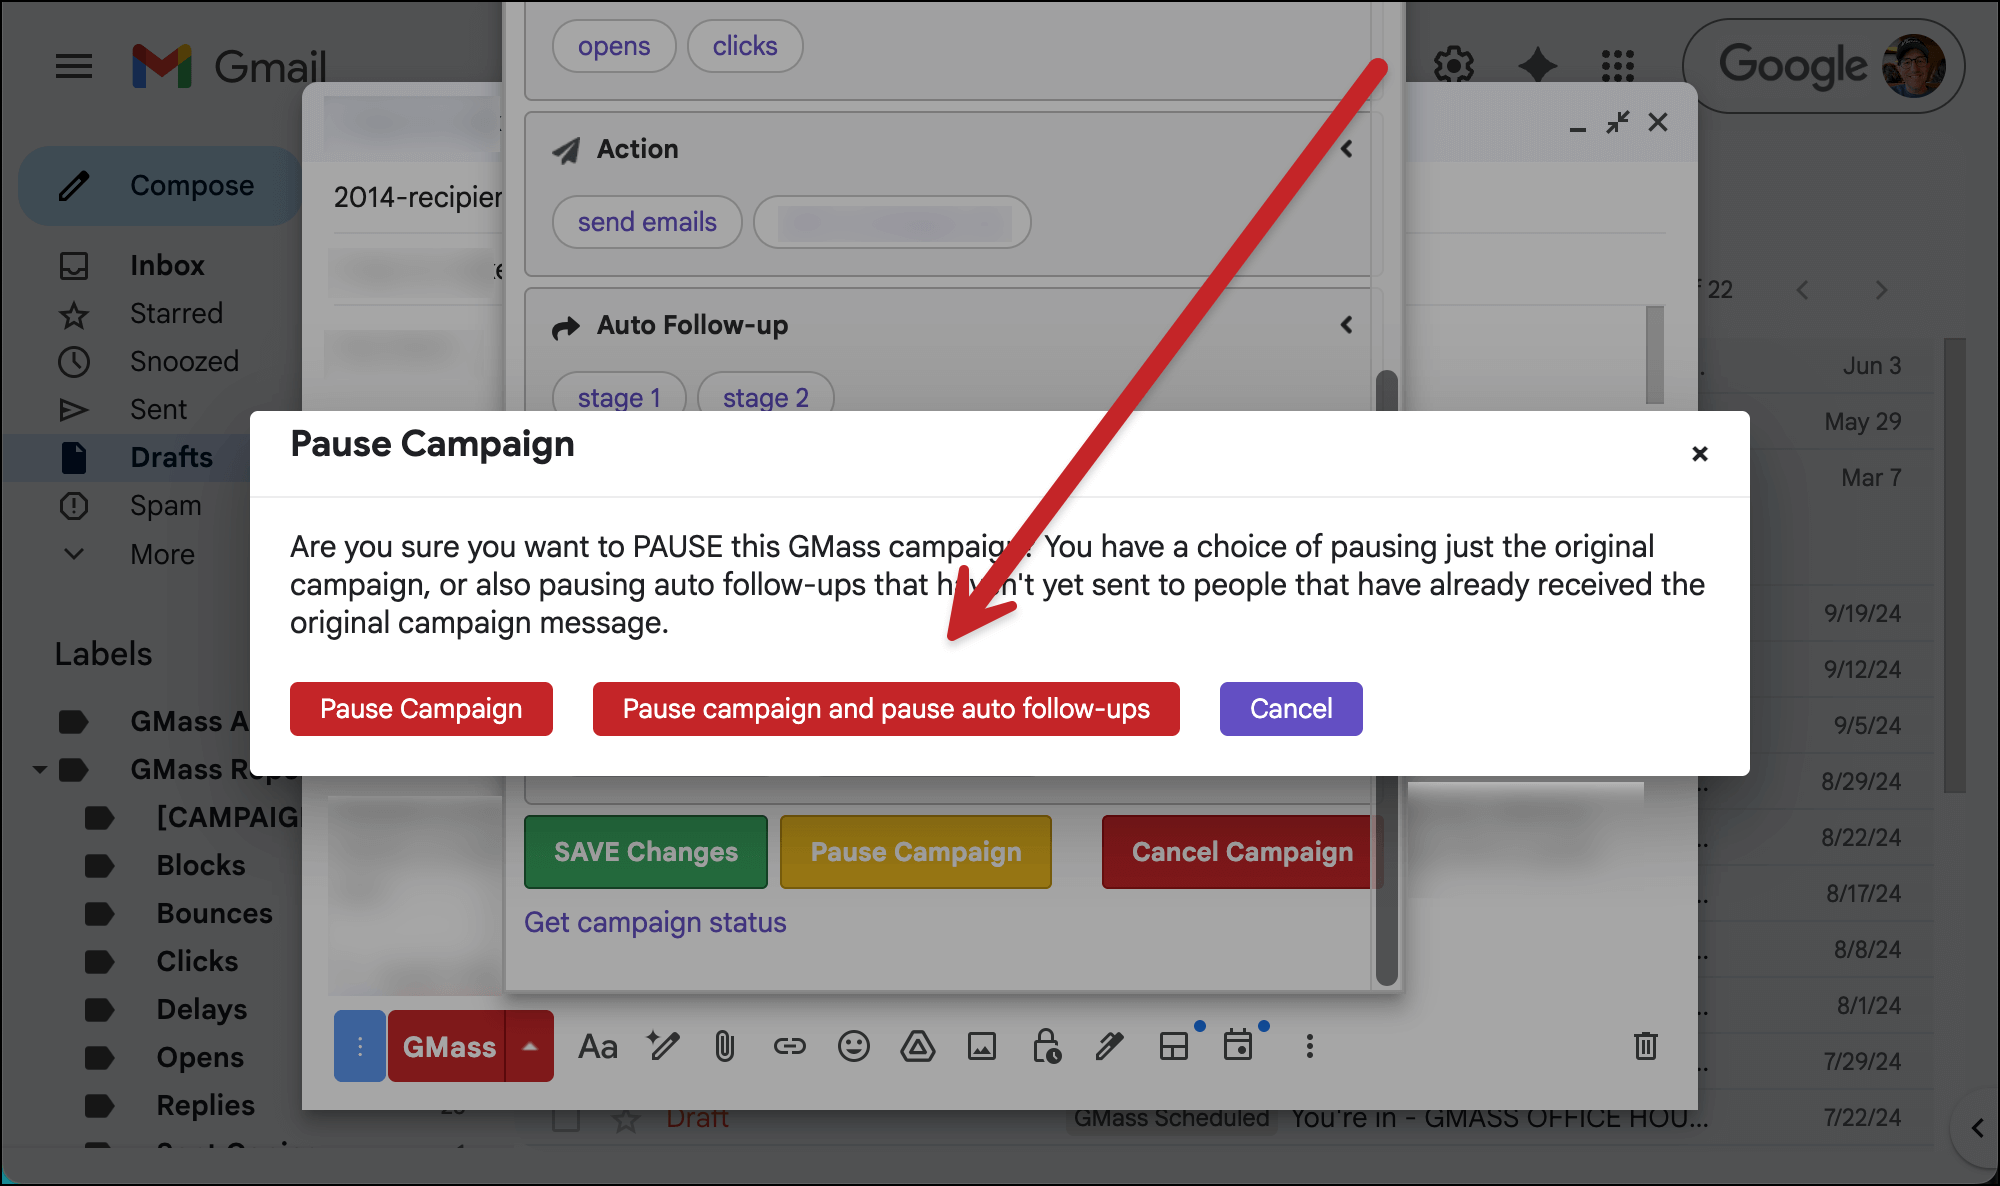
We just want to cover all our bases here and make sure this campaign really doesn’t send anything else if whatever caused the error somehow resolves. (We’ll handle the auto follow-ups aspect of this later.)
2. Recreate the initial campaign
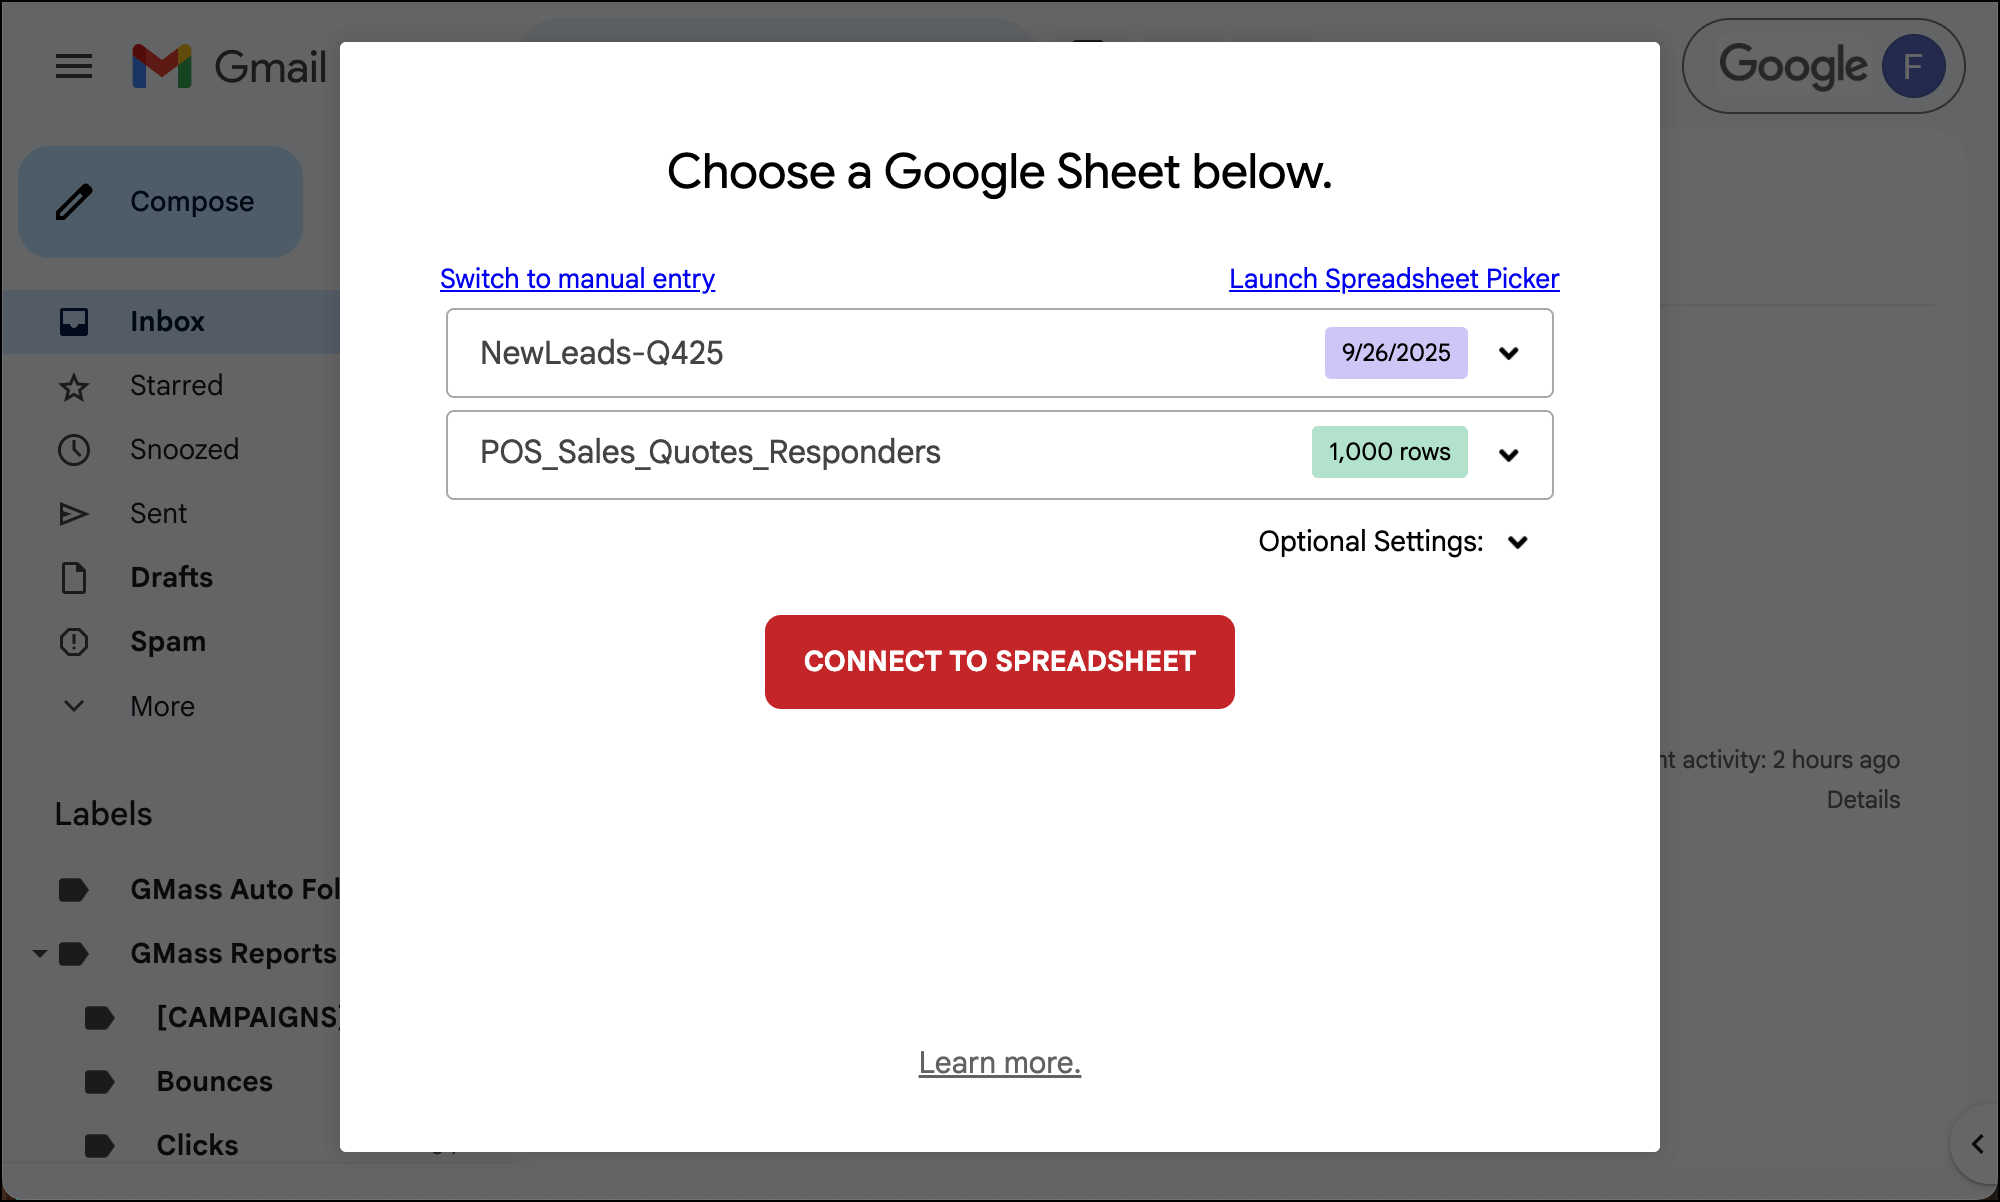
Now we’re going to recreate the initial campaign. So connect the same Google Sheet you did (yes, even though it includes a bunch of people who already received the first campaign before the issue).
Once the compose window opens, go to the GMass settings box and choose your original campaign from the Templates dropdown.
And choose to load Subject/Message, Auto Follow-ups, and Settings.

3. Suppress the initial campaign
Now we’re going to make sure no one who got the initial campaign receives this one.
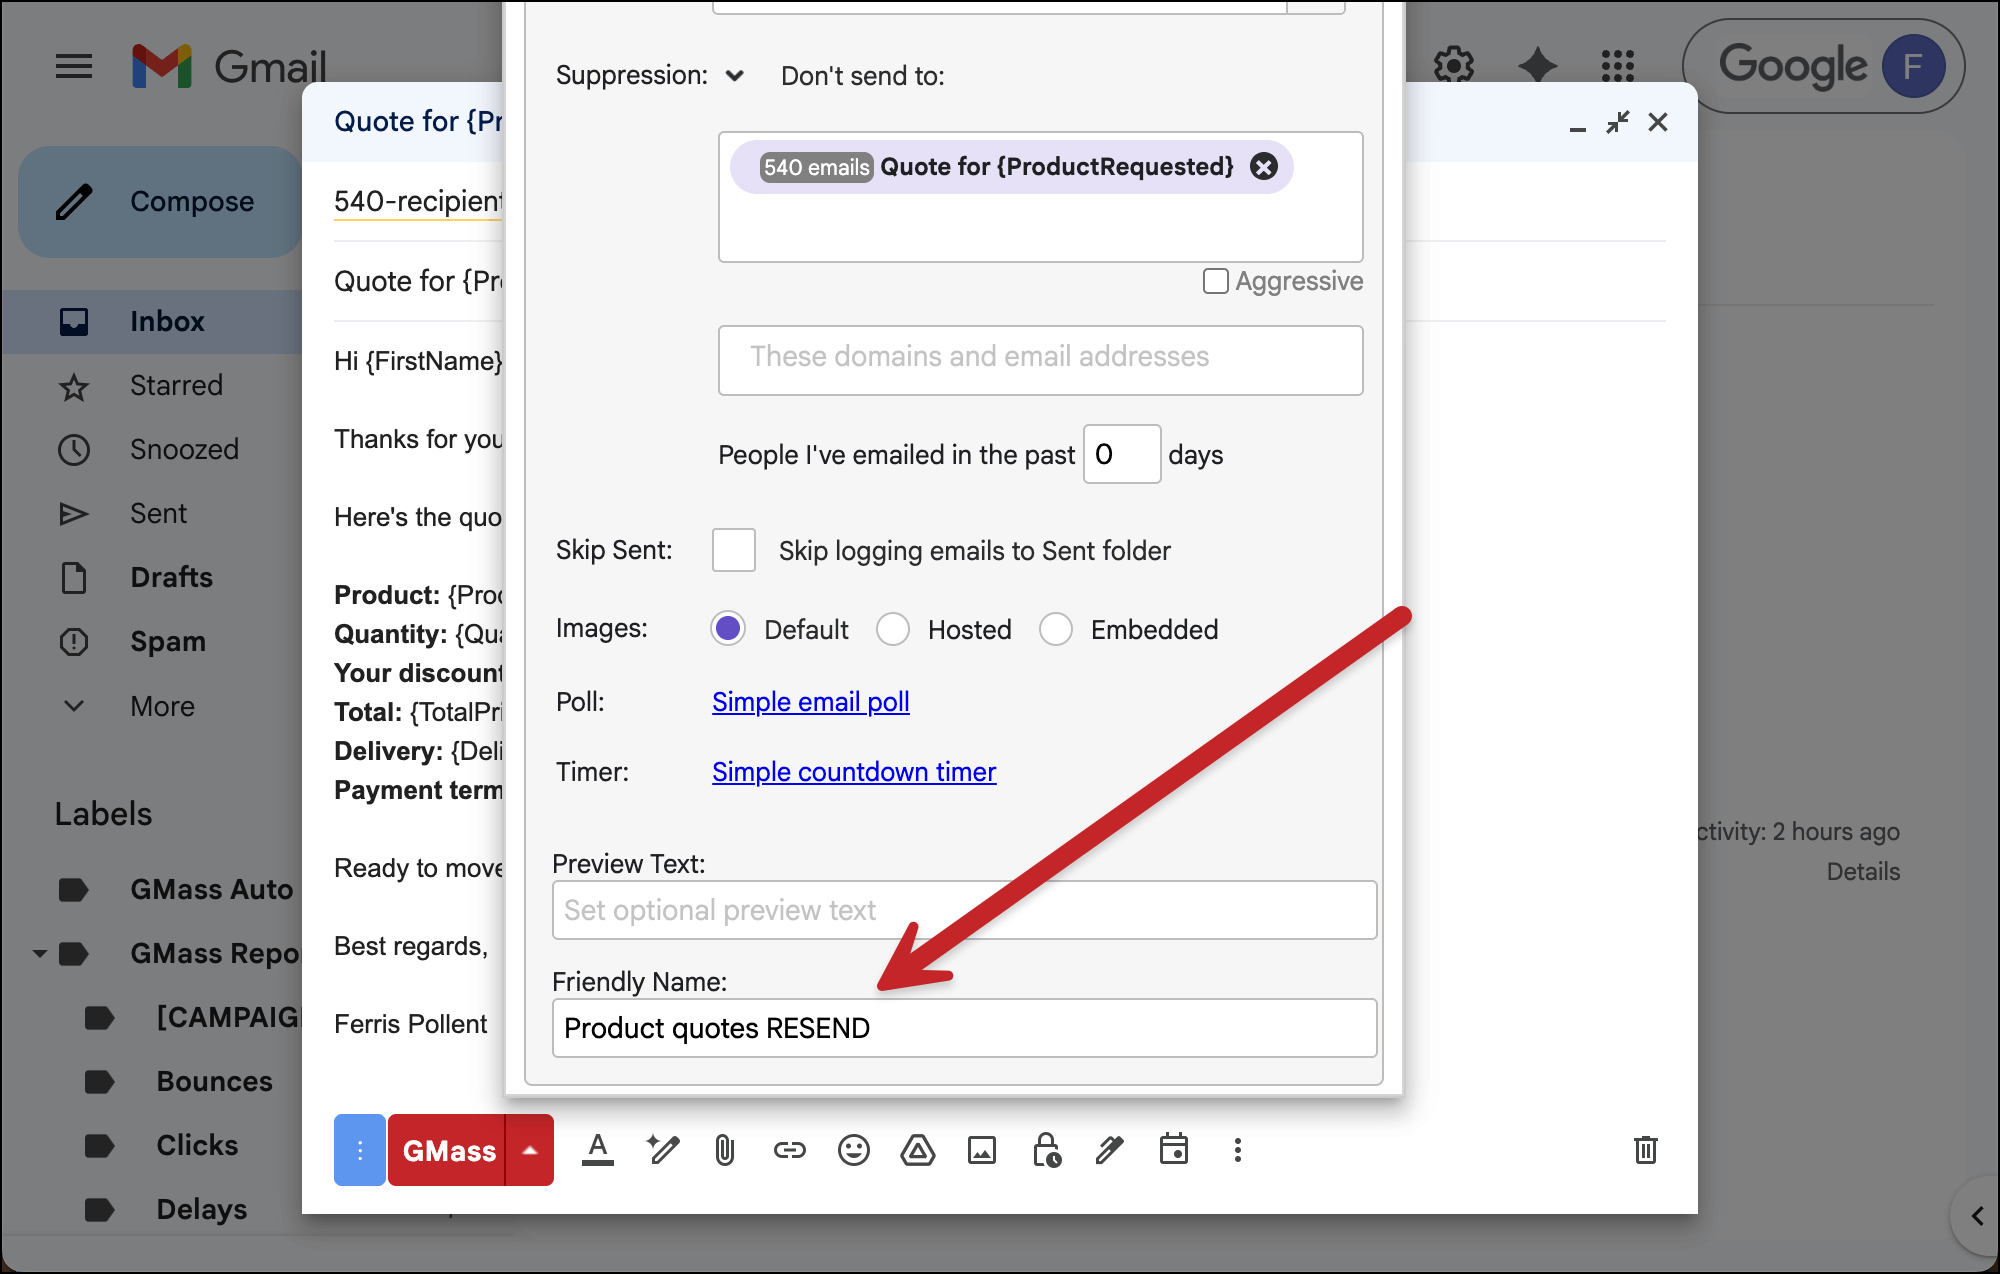
In the settings box, go to the Advanced section. And click the carat < next to Suppression.

Now, in the box that says People in these campaigns, choose your initial campaign that had the issue. And make sure Aggressive is NOT checked.
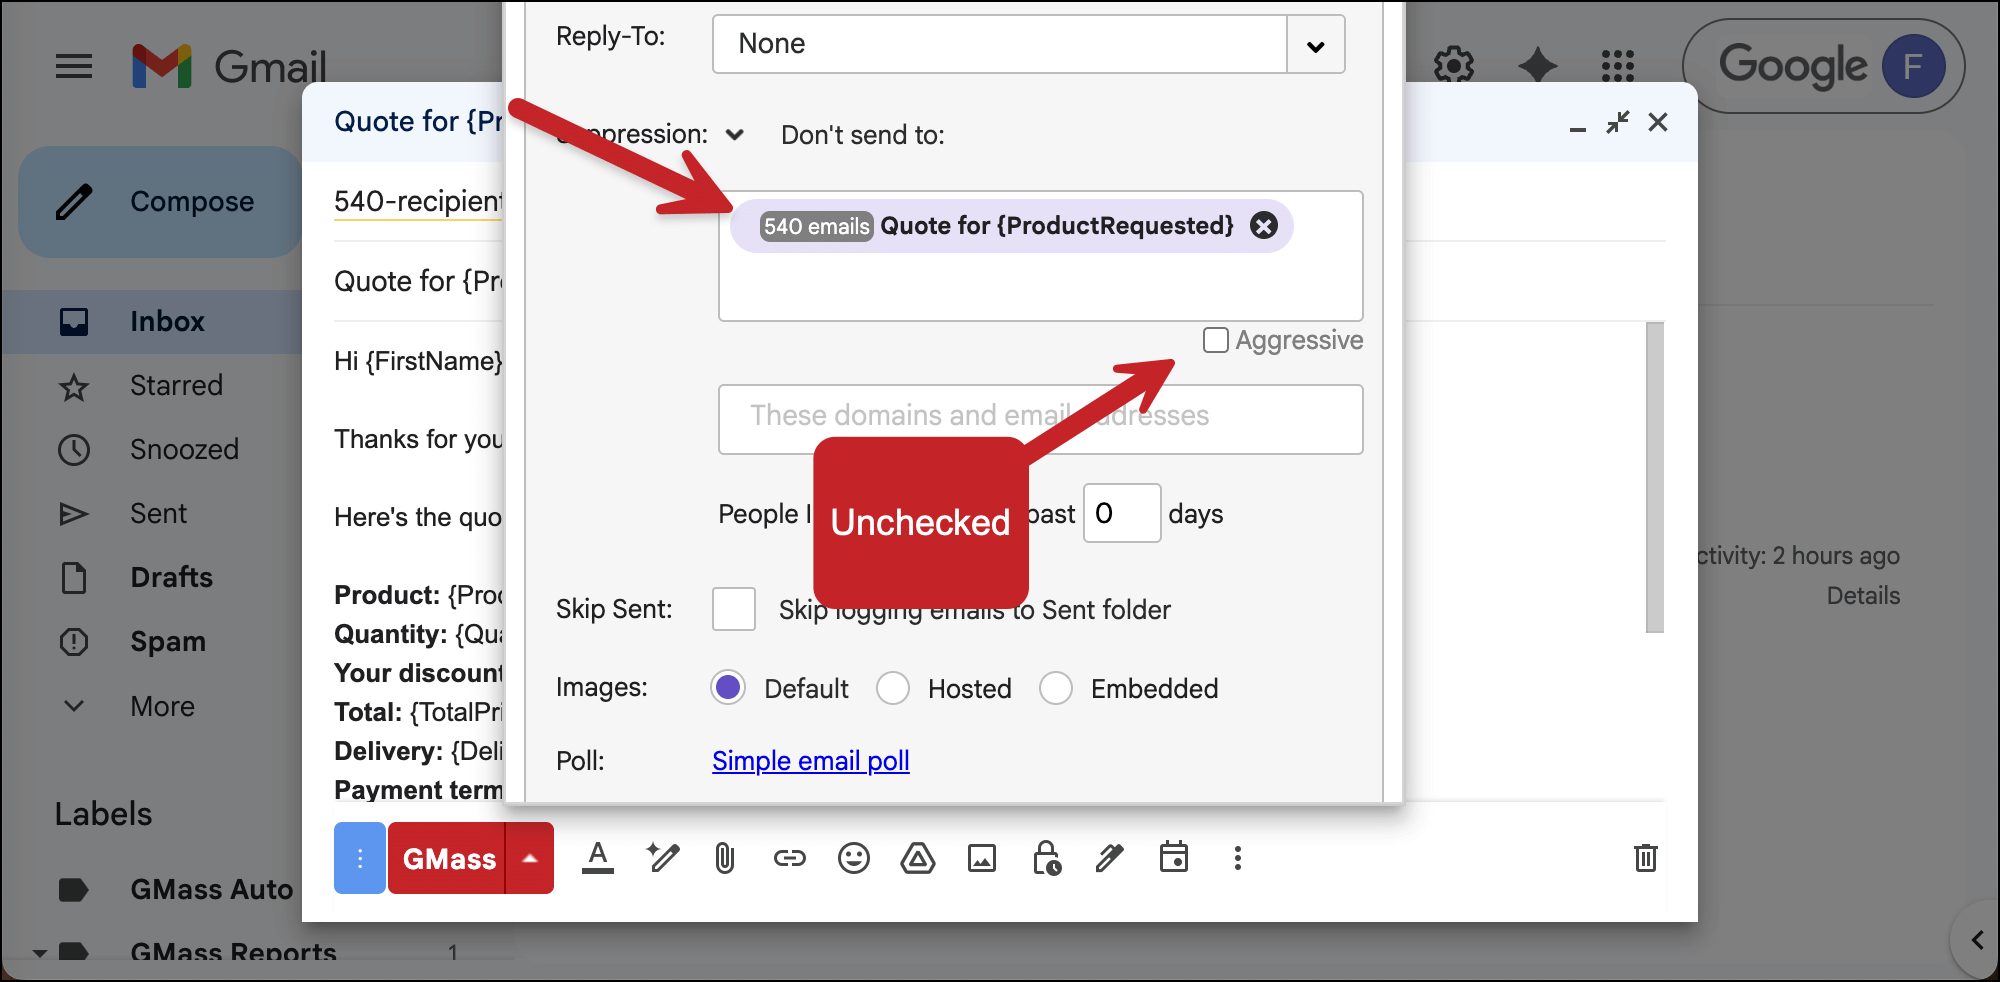
What we’ve done here is made it so anyone who received the initial campaign won’t receive this redone second campaign.
4. Give it a friendly name and send
Last step here in the settings box: Let’s give this campaign a Friendly name (for internal use only) to help us distinguish it from the initial send.
And now, once everything is ready, click the GMass button to send this campaign.
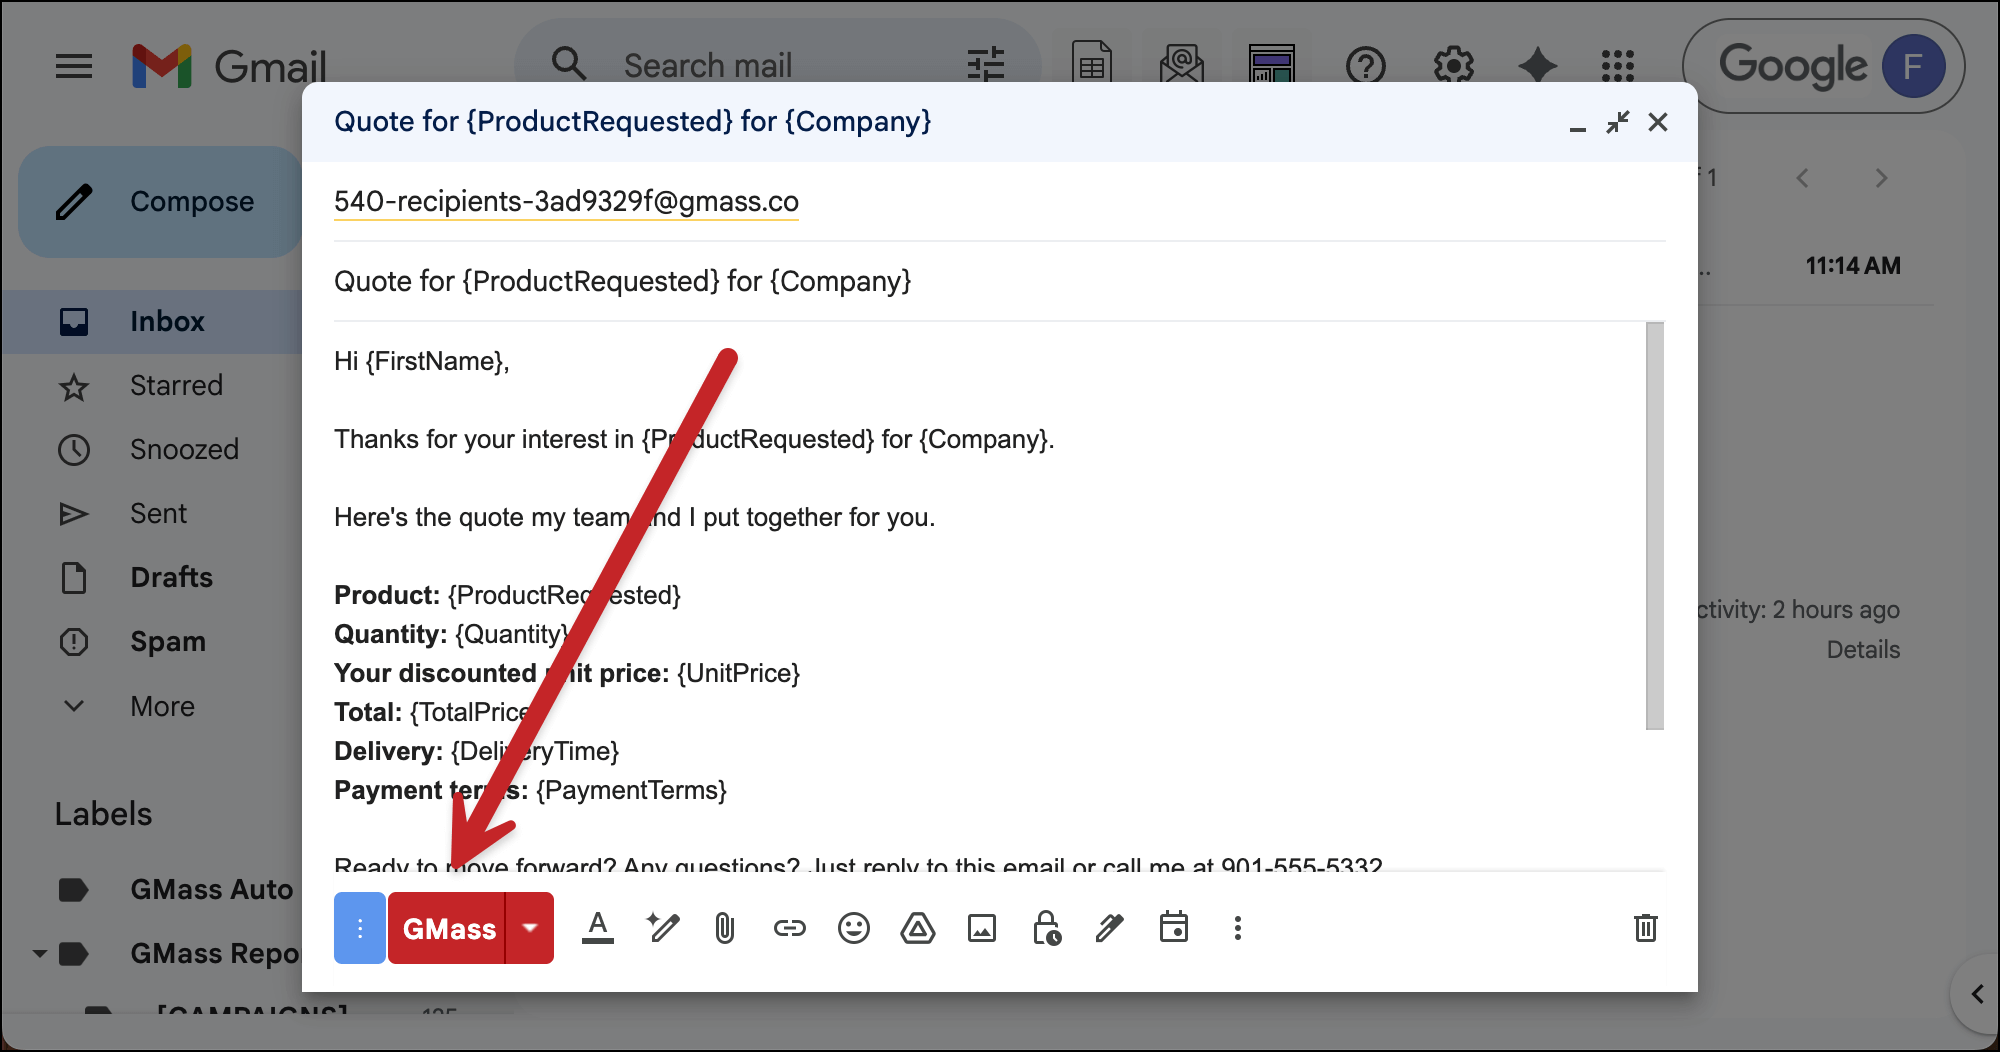
Thanks to the suppression list, GMass will not send to anyone who received the prior campaign but will send to everyone on your list who did not.
IF your campaign did not have any auto follow-ups, you’re done.
✅ You’re all set.
But if your campaign did have auto follow-ups, we have one more thing to take care of.
5. (If you have auto follow-ups) Recreate the auto follow-ups
Because of the error in the initial campaign, it’s possible (in fact, likely) your auto follow-ups also had issues and did not go out.
So what we’re going to do is we’re going to turn your auto follow-ups into a “new” campaign to send only to those who got your initial campaign.
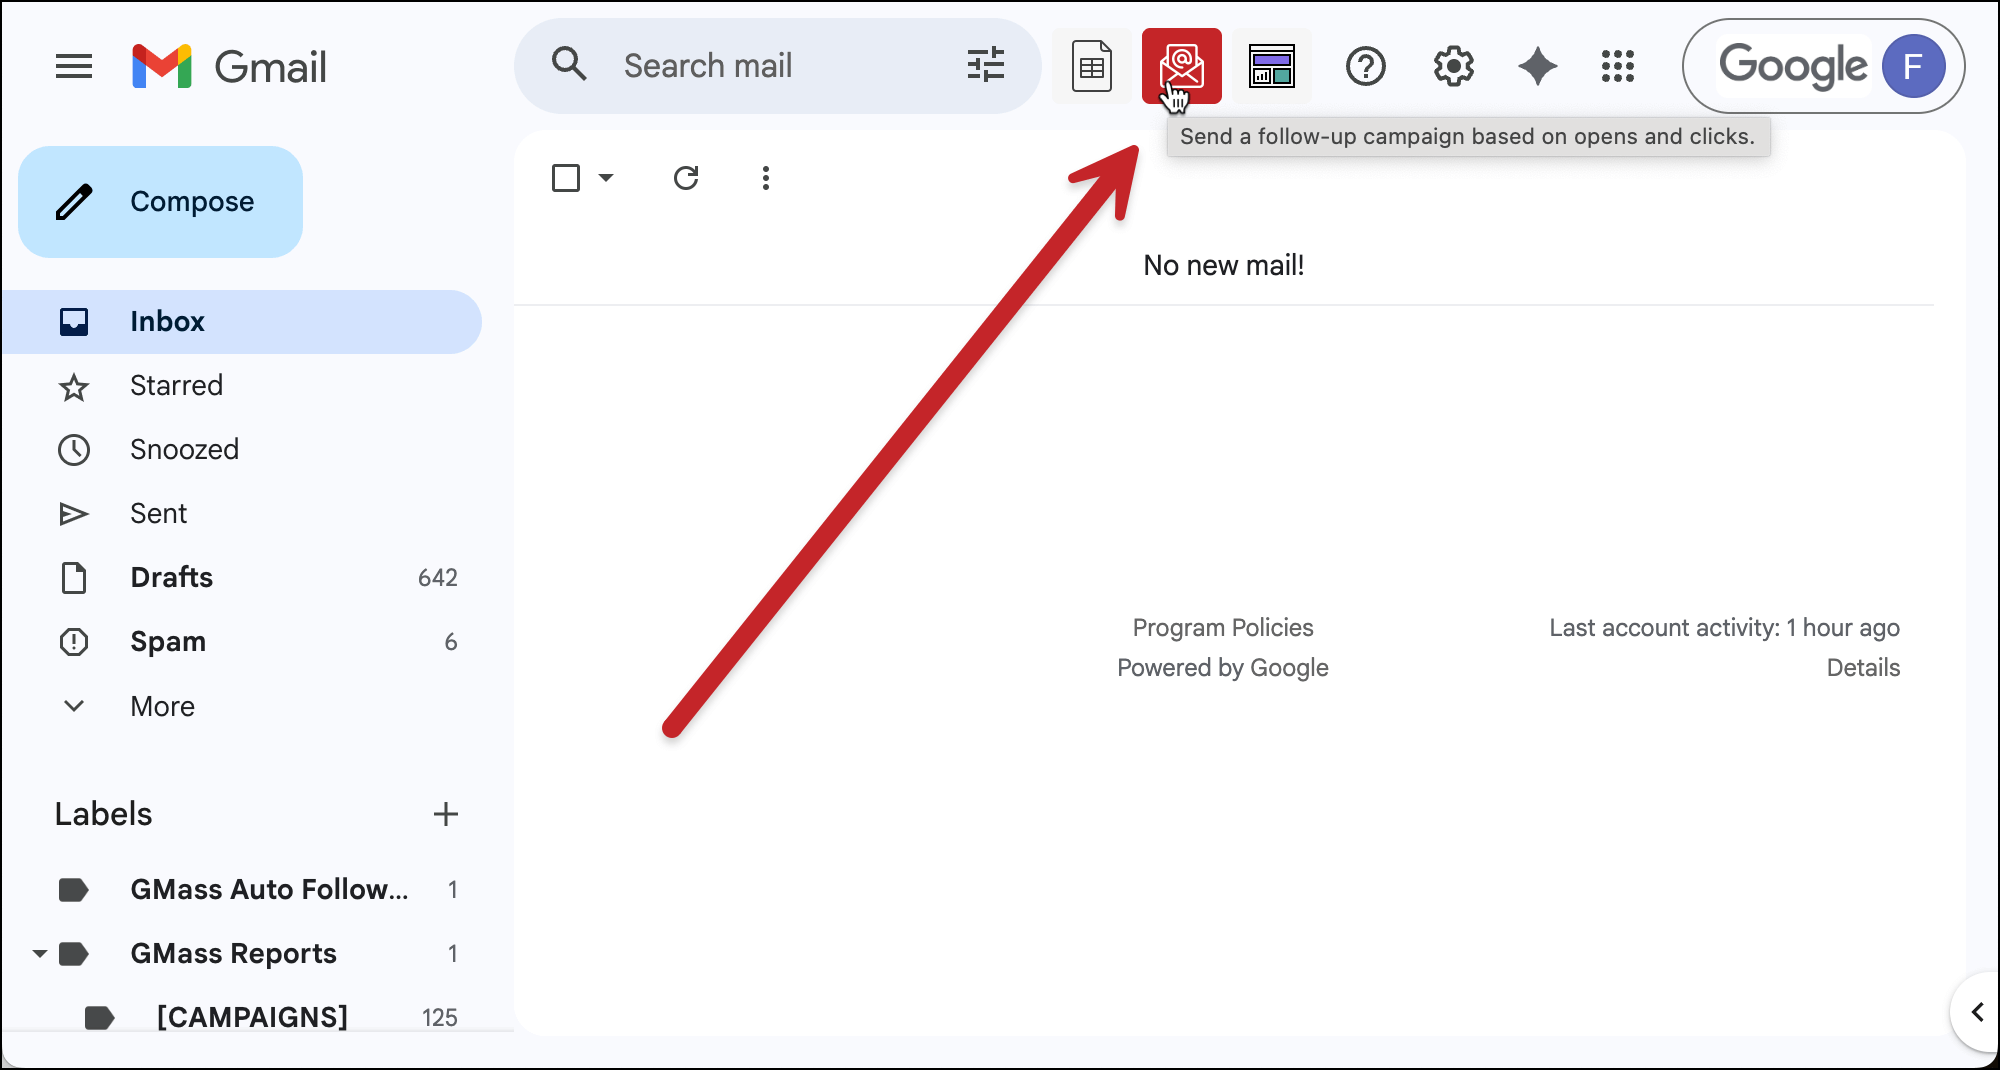
In Gmail, click on the second button that GMass has inserted to the right of the search bar. That’s the button for segmented/follow-up campaigns.
In the pop-up that appears, select the campaign of yours that errored out.
Then choose Sent from the dropdown. As you can see, my campaign was supposed to go to 510 people but only 350 emails were sent before the problem.

Now click Compose Follow-Up.
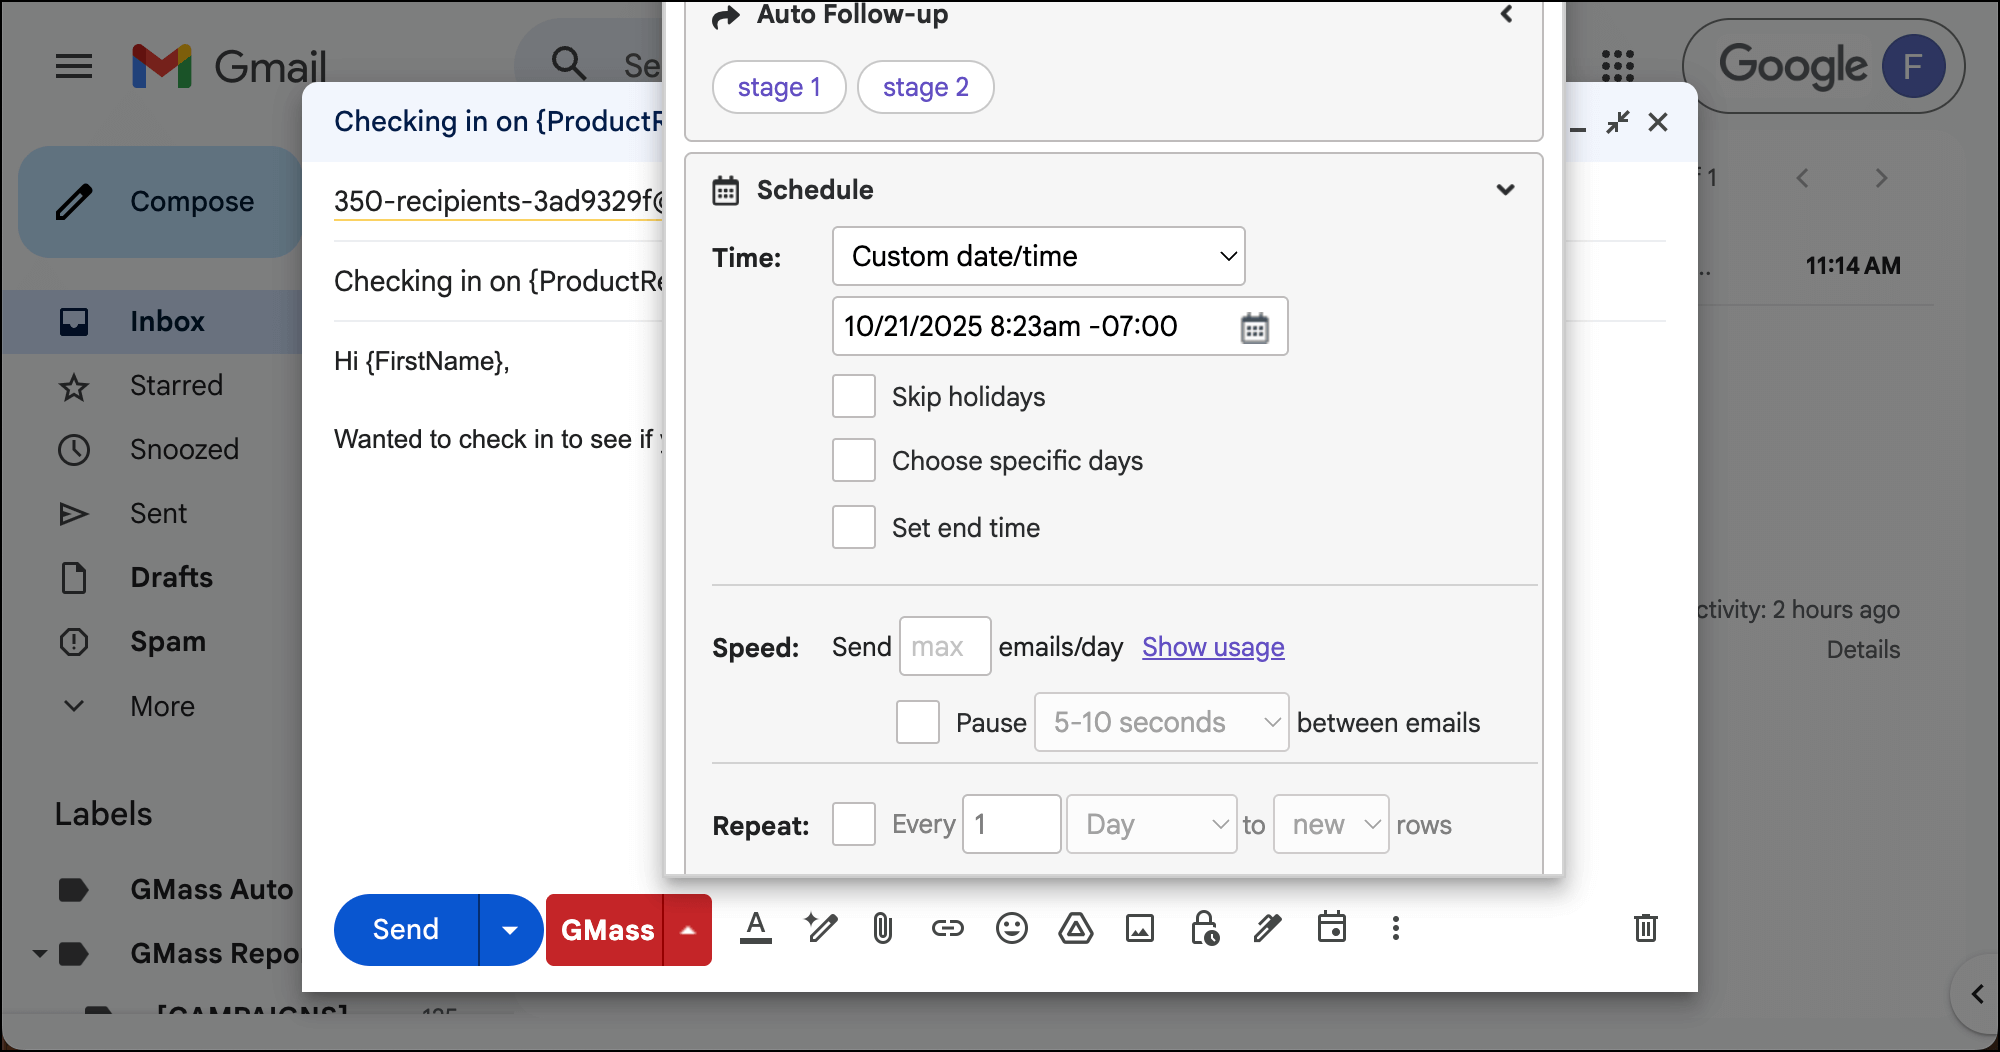
Make the message here the first follow-up. (Get it? So your follow-ups are their own “campaign” now.)

And now add follow-ups. But in this case, your first follow-up would be the second message in your initial follow-up sequence (and so on).

You can make this campaign simulate your original follow-ups exactly.
You can use GMass scheduling to add a delay before this “follow-up” sequence begins (for instance, if you wanted the first stage of your sequence to go out 7 days after the initial message, schedule this campaign that way).
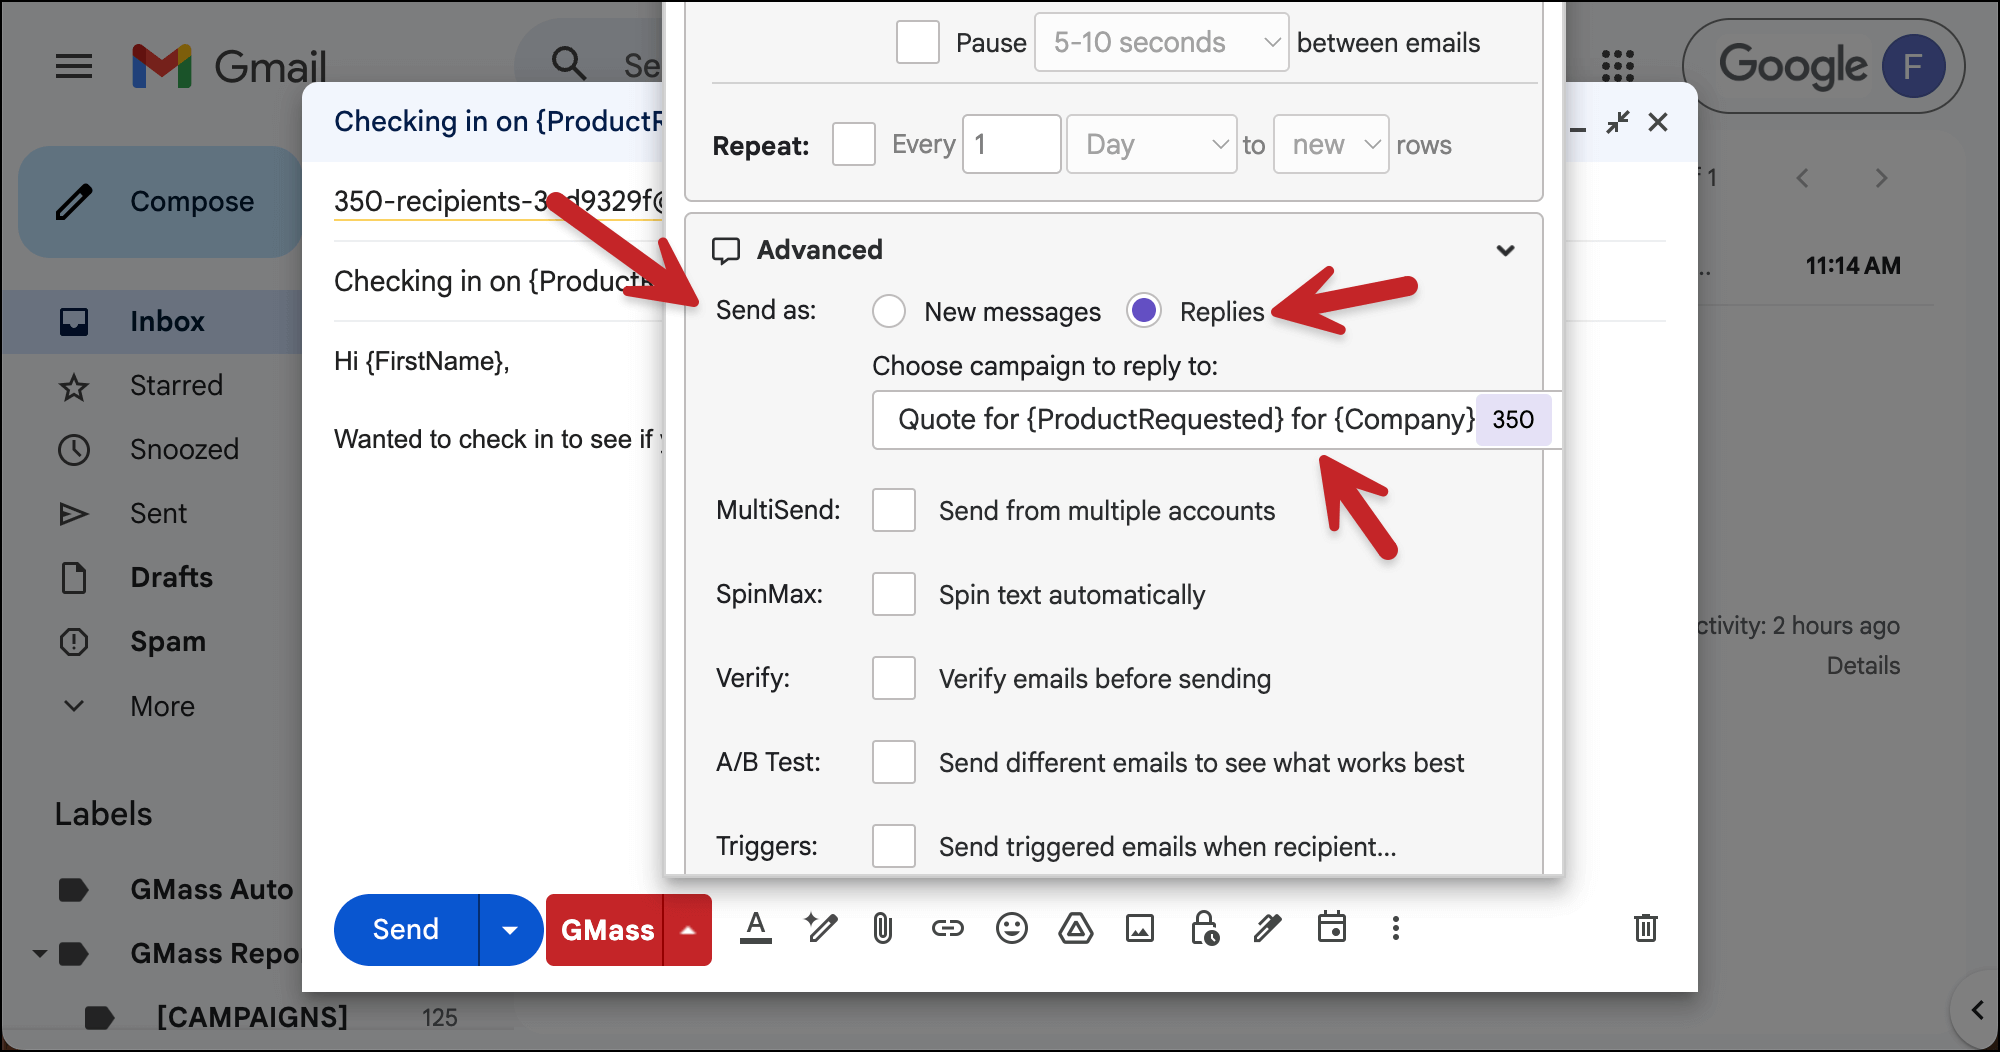
If you want this campaign to go out in the same thread, use the Send as Replies feature in the Advanced section. Choose to send this new campaign as Replies to your prior campaign.
And once everything looks good, click the red GMass button to initiate this follow-up campaign.
✅ You’re all set.
More resources
- Here’s more on suppression lists and how they work.
- And more on segmented campaigns, which are handy (and underrated!)
- The follow-ups here follow this workflow: My campaign finished sending, and I realize I want to send auto follow-ups.