 In this post, I will walk you through setting up a system where anyone who emails you can be automatically added to a GMass campaign with the option of sending a sequence of follow up emails automatically. (As a bonus, I include a little bit of spreadsheet formula magic to make it easier to later personalize your GMass-sent emails!)
For example, you may have a “mailto” link on your web page stating, “send us an email if you’d like more information.” Or a potential customer may just email you directly. In either case, when an email is then received, the sender is automatically subscribed to an email automation sequence.
How it Works
Here’s an overview of the process :
- Someone sends an email to your Gmail address.
- A Zapier “zap” you have previously set up detects that new email and automatically copies the sender’s email address and other information you specify into a Google Sheets spreadsheet.
- GMass reads the Google Sheet every day or hour (your choice), detects all the new rows in the spreadsheet and sends an email to each new email address.
- The automatic follow-up email feature in GMass then will send the rest of the email sequence (up to 8 follow-ups) until the recipient replies, opens, or clicks the email.
Have your Google Sheets spreadsheet ready
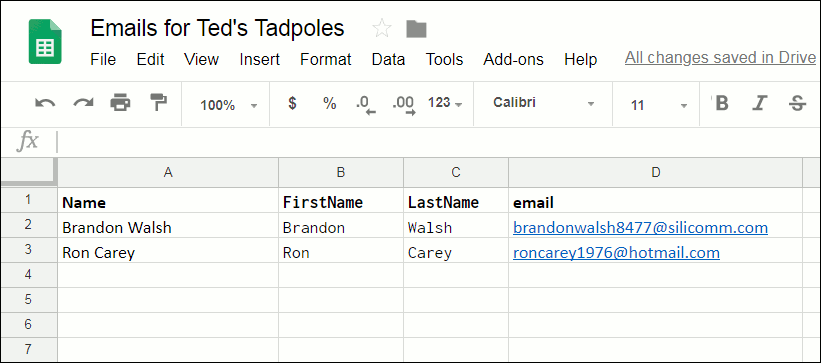
Make sure you have a Google Sheet created to hold your mailing list. For the purposes of this tutorial, the format I will use has just four columns: Name, FirstName, LastName, and email. To follow along, set your spreadsheet up in this way. I also have 2 rows of sample data in it already.
Creating Your Zap
It will just take about ten minutes to set up your “zap” in the following steps.
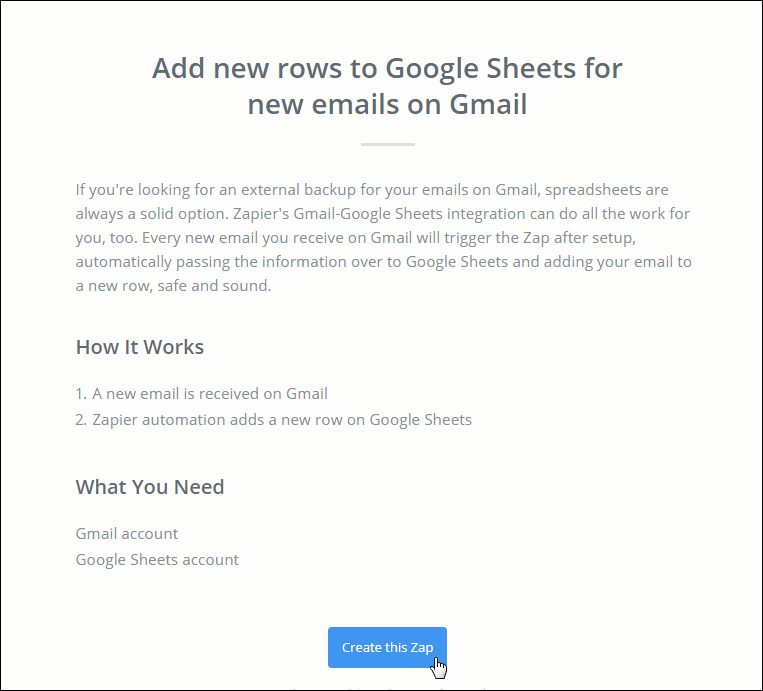
- Zapier is a web service for connecting other web services, and can be quite handy. Signing up and basic features are free. First, sign up with Zapier. Then, to set up your “zap”, go to this template page on Zapier and click “Create this Zap”.
- At the next window, alerting you that you are setting up this Gmail Trigger in Zapier, click “Continue”.
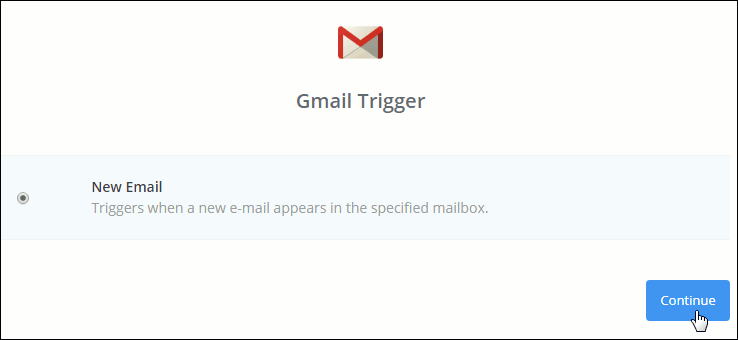
Zapier alerting that you’re setting up a Gmail-based trigger. - Zapier will then ask you to connect a Gmail account. This should be the account that, if someone emails you there, that person will be automatically assigned to your automatic email sequence. Click “Connect an Account” [not shown] and choose which account from the list (you have to be logged into an account in Gmail for it to be populated in this list), and then you will be shown this window:
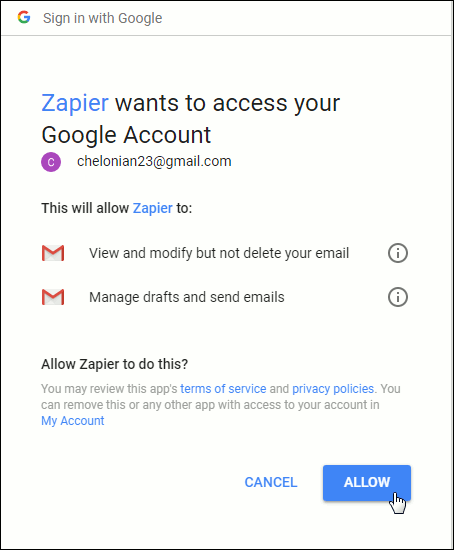
Zapier requesting permission to access your Google Account Allow Zapier this permission by clicking “ALLOW”.
- On the next screen, click “Save and Continue”.

Zapier confirming Gmail account. Note: You probably will only have one email account that you are using with Zapier, but if you happen to have done this before, you might have more than one shown. If you happen to have more than one, make sure only the one you want for this zap is selected with the radio button.
- Click “Continue” on next page [not shown]. (We’re ignoring the advanced options).
- Click “Continue” on next page. [not shown]. (Also ignoring the small “new small improvements” page from Zapier).
- Zapier will now test this Gmail account. As it instructs, make sure there is at least 1 recent email in the Inbox of that Gmail account. Click “Fetch and Continue”.
- Zapier will take a moment to attempt to fetch a recent email, and should come up as successful. If so, you will see this:

Zapier test successful! Click “Continue”
- It will then ask you to create a spreadsheet row.

About to create a Google Sheet row. Click “Continue”.
- You now need to connect a Google Sheet.

Choosing a Google Sheets account. Click “Connect an Account”.
- Zapier will ask you to choose a Google Sheets account and then give it access to that account, as you did in Step 4 for access to Gmail. So, repeat the process of granting permission.
- You will see a similar screen as was shown in Step 5. Click “Save and Continue”.
- You will be brought to a screen where you must set up your Google Sheets spreadsheet row.
Keep in mind, in order for this to work, you must have a Google Sheets spreadsheet with the right formatting. This is critical. Zapier has a useful help page about this. Make sure to follow their guidelines. The spreadsheet I am using for this tutorial was shown in the section above, “Have your Google Sheets spreadsheet ready”.
Note: You should be logged in as the Google account that goes with this sheet.
In Zapier, I have selected a Google Sheets spreadsheet (“Emails for Ted’s Tadpoles”) as well as a worksheet, which happens to be the default name, Sheet1. So, select your own spreadsheet and worksheet. (Don’t hit “Continue” just yet, though.)
Setting up your Google Sheets spreadsheet row. You also have to choose which data gets extracted from each email and placed into the spreadsheet’s next row. For this example, I am going to extract the the sender’s name and the sender’s email–which we will need for the automatic email sequence.
- For the sender’s name, click on the icon to the right of the “Name” field (the word “Name” is from your spreadsheet this zap is connected to), and from the dropdown list, select “From Name”.

Selecting the name to be extracted to the spreadsheet. 
Selecting the name to be extracted to the spreadsheet. Then, do the same thing for the email field, but select the From Email field from the dropdown [not shown].
- Now comes the bit of spreadsheet magic I mentioned above.
For personalizing your emails when using a spreadsheet, GMass needs to have a spreadsheet column with the first names and last names of your contacts, so it would be good if we can attempt to get that through this zap. There is no first name field provided in Gmail data, so we can do it with a Google Sheets formula built right into our zap. First, make sure your spreadsheet is set up like mine is, with the exact same columns in that order. Then copy the following:
=IF(ISBLANK(INDIRECT(ADDRESS(ROW(),COLUMN()-1))),””,(INDEX(SPLIT(INDIRECT(ADDRESS(ROW(),COLUMN()-1)), ” “), 0,1)))
and paste it into the FirstName field. It will look like this: - Let’s do the same thing for LastName. It’s the same idea, but a slightly different spreadsheet formula:
=IF(ISBLANK(INDIRECT(ADDRESS(ROW(),COLUMN()-2))),””, (IFERROR(INDEX(SPLIT(INDIRECT(ADDRESS(ROW(),COLUMN()-2)), ” “), 0,2)) ) )
- Double check that Name, FirstName, LastName, and Email are all filled out, then Click “Continue”.
Note: For this tutorial, I have kept things very simple, with just these four spreadsheet columns. But you could have as many as you want and extract other data from the emails, such as Subject or Date.
- You will be brought to the test page. I prefer to skip this and test it directly from one of my emails. So you can just click Skip Test.
- Click Finish. You should see the following screen:
- You did it! So, let’s test it out! Send an email to the email address you used for this zap. We will have Jack Lovich, our customer, send an email.
- Wait more than 5 minutes. Zapier runs on a 5 minute interval schedule, so when you send the email you have to wait about 5 minutes for anything to happen.
- After 5 minutes are over, let’s check our spreadsheet again and notice that your last email, from Jack Lovich, has caused Zapier to add a new row (row 4) to your Google Sheets spreadsheet!
And, because of our spreadsheet formula, it’s also put his first and last name on the spreadsheet. Note: in cases, in which the person or entity that emails you has just one word as the “From name”, the LastName column will just be left blank.
A new row has been added to my spreadsheet! That’s it! You’ve set up your zap!
Back to GMass: Creating the Email Automation Sequence
The hardest part is done! Once you have set up your zap, you’re ready to create your email automation sequence.
- Click the GMass Spreadsheet button at the top of your Gmail page to connect to a spreadsheet.
- Choose the spreadsheet you are using with this zap and click “Connect to Spreadsheet”.
- In the Gmail Compose window that is then launched, create a new email with your marketing message.

The outgoing email. Bonus: Notice how we can use GMass’s personalization feature (“{FirstName|Tadpole Enthusiast}”) here, since we have created a FirstName field in our spreadsheet, one that is automatically extracted by the zap we created.
- Now let’s schedule this email sequence. Click the GMass Settings button.

The GMass Settings button. The Settings window will be displayed. Click the plus next to Schedule.
- Click the “repeat” checkbox, and choose daily or hourly in the dropdown. You can also set a few other settings, such as not sending on weekends.

Set your settings for repeating, daily or hourly. Note: If–and only if–you have launched a Gmail compose window through the Spreadsheet button (Step 2 in this section), the Settings will include an option for scheduling repeated sends of this email. It will not show this if you compose an individual email without using the Spreadsheet button.
While in the Settings window, set the options for follow-up emails, which will result in your “automated email sequence”. Those options are founded under Auto Follow-up, and are basically self-explanatory, but see the link above for a more thorough treatment of this option. - Finally, click the red GMass button to start this automated email sequence. The first email addresses names on the Google Sheet will sent emails immediately, and then as new rows are added to the sheet by our zap (when people email the email address specified in our zap), GMass will send out this same email to those people as well.
Of course, GMass is smart enough to know not to send the previously emailed recipients the same email again).
That’s it! You now have a powerful email automation system up and running.
If you want to take it to the next level and send a very large number of emails, you should connect GMass to an SMTP account like Sendgrid. This allows you to send a very large volume of emails without bumping up against Gmail’s limits and prevents your Gmail account from being flagged for sending spam.
Email marketing, cold email, and mail merge all in one tool — that works inside Gmail
TRY GMASS FOR FREE
Download Chrome extension - 30 second install!
No credit card required



How can we take print out of spreadsheet of Gmail?
Hi,
We’re not sure what you were referring to with regards to a print out of spreadsheet of GMail. Please contact our support team through http://gmass.co/g/support with details of your inquiry.
If we send our outbound email using SendGrid, does the ability to end a sequence after the person replies still work?
Hi Chris,
Yes. The only difference is that GMass will send your outbound emails from your campaign through SendGrid rather than Gmail servers.
Nice blog. I found this blog very useful. Your blog will be very beneficial for everyone. I have bookmarked your website.