GMass Quickstart Guide: How to Connect and Send Your First Campaign
GMass is one of the most popular, easy-to-use, and powerful mass email tools for Gmail and Google Workspace. With GMass, you’ll add mail merge and email marketing powers inside your Gmail account — so there’s no new platform to learn and it slots right into your email workflow.
In this quickstart guide, we’ll walk you through every step of installing GMass and sending your first email campaign. We’ll also point you toward lots of resources you can use to learn about GMass’s array of cold email, mail merge, and email marketing features.
If you’ve already installed the GMass Chrome extension in your browser, you can skip the first section below and jump to the section on connecting your Google Sheet.
Let’s get started!
GMass Quickstart Guide: Table of Contents
- Downloading and Installing GMass
- Connecting a Google Sheet to GMass for Your First Campaign
- Composing Your First Email Campaign
- Sending Your First Campaign
- Next Steps: Digging Into More GMass Features
Downloading and Installing GMass
In order to use GMass, you need:
- A Gmail account or Google Workspace account.
- The Google Chrome browser for your desktop computer.
GMass is a desktop app that requires a computer, not a mobile device.
Installing GMass in your browser
Install the GMass extension from the Chrome Web Store by clicking the Add to Chrome button.

Click “Add extension” to give GMass necessary permissions in Gmail. Here’s why why we have to ask for those permissions; the short version is: Google makes us do it. But never fear, we deeply respect your privacy — and 300,000+ users in, we’ve never had a single privacy issues come up.

Your browser will redirect back to your Gmail account. It’s time to officially connect GMass and your Google account. Click the “Sign up with Google” button in the pop-up box.

Choose your account in the Google authorization window.

More permissions. Google isn’t messing around. Once again, GMass is required to ask for these in order to send your emails from your Gmail account. Click “Allow” to continue.

Allow GMass to show notifications in Chrome (so you can get important campaign alerts). You may find this difficult because every instinct in your body pushes you to say no to all “allow notifications” pop-ups, but these will be worth it as you manage your campaigns.

Click the “Close Window” button.
You’ll now see the GMass success overlay. You can take the tour there, which will walk you through (in essence) what this quickstart guide will also show you. You can even follow along with this guide as you take the tour.
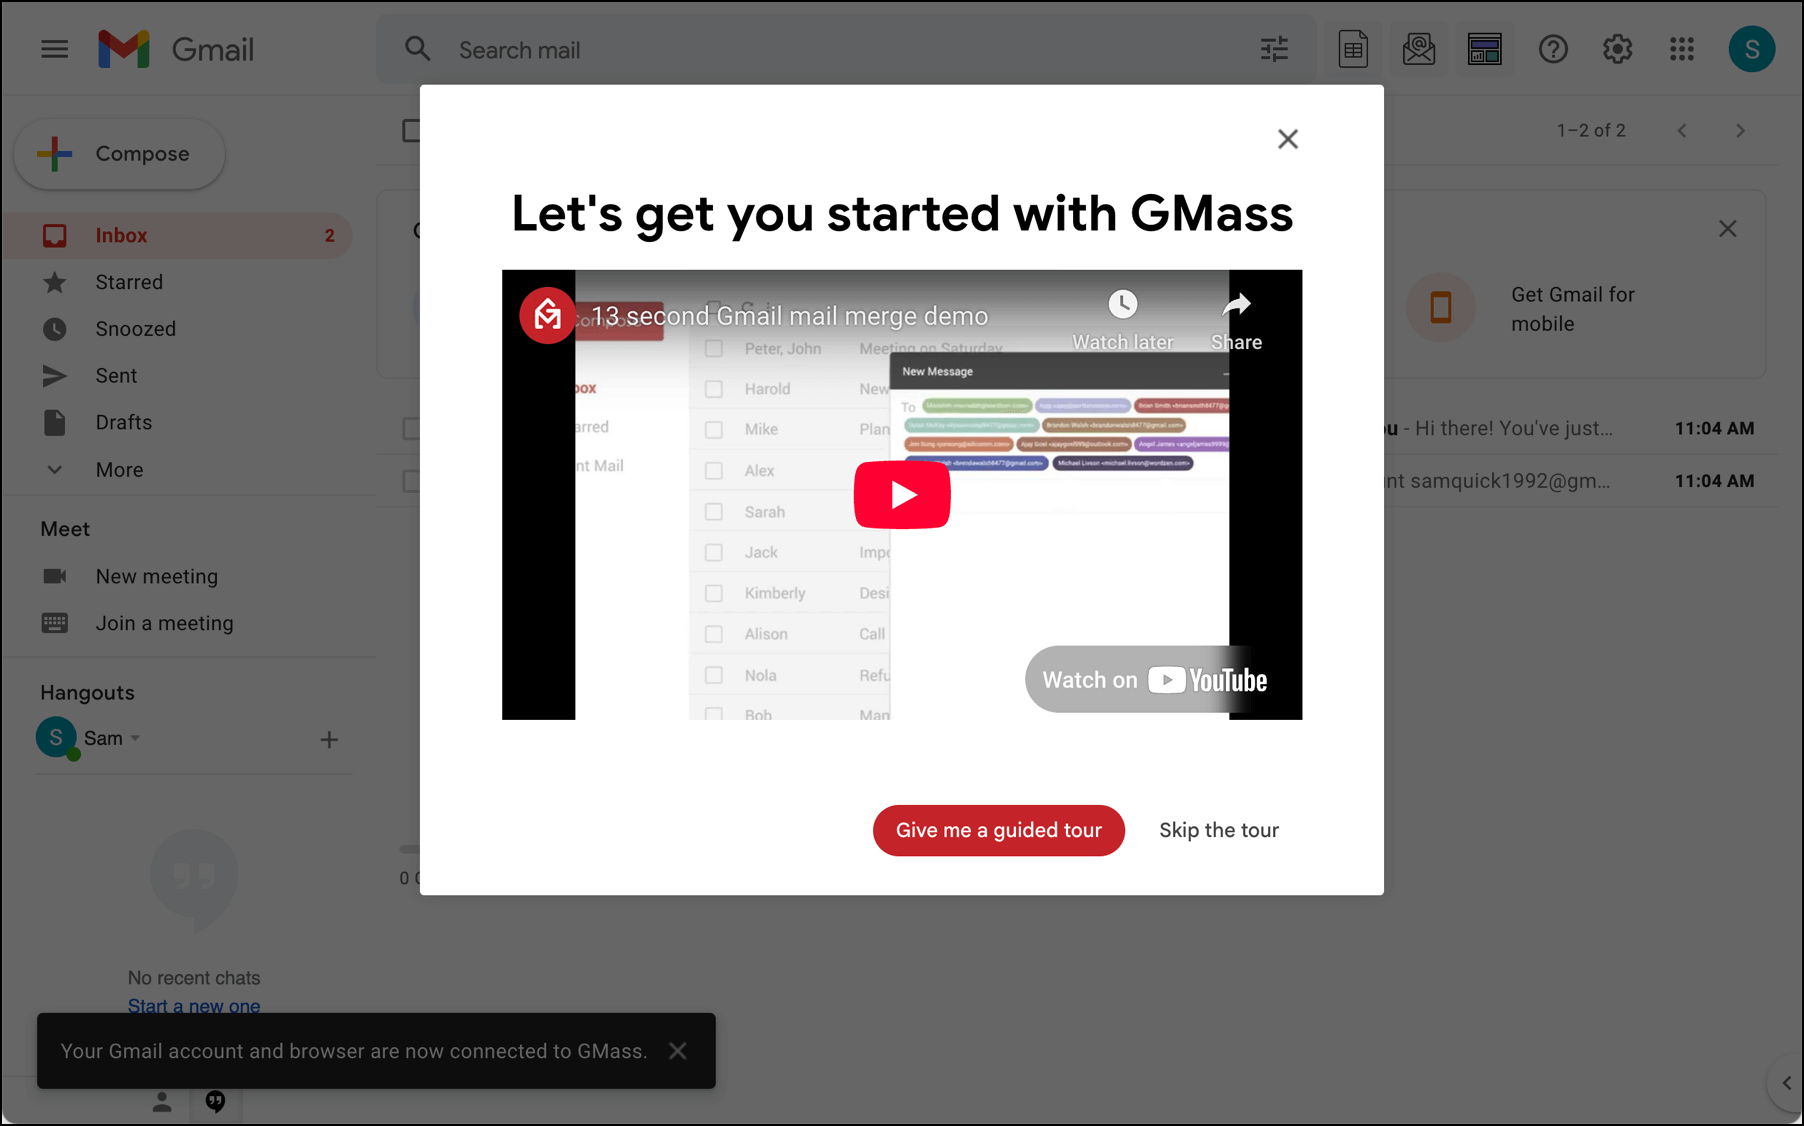
It’s time to send your first campaign.
Connecting a Google Sheet to GMass for Your First Campaign
There are multiple ways to build, import, or connect mailing lists to GMass. (We have links to those at the end of this quickstart guide.)
But for mail merges and (likely) most of the campaigns you send, you’ll get your lists from Google Sheets.
The good news: GMass has a deep, powerful, and versatile integration with Google Sheets. The bad news: We’ll have to do one more round of permissions. But more good news: All the permissions are a one-time thing. So let’s rip off the bandage and get them over with.
Prepping a Google Sheet of contacts
Head over to Google Sheets and create a new spreadsheet. Then create columns called FirstName, LastName, and EmailAddress. (You can add any other columns you want and call them whatever you want; I’m just using these basic ones for our example.)

For this first experimental campaign, I’m going to send emails to some of my other email addresses. (If you’re feeling ambitious, you can send a real, live email campaign here!) And if you’re wondering, yes, there are lots of people who copy my burner email addresses below and send to them. I do enjoy reading your test campaigns. Sort of.

Once you’re done entering your contacts, head back to Gmail.
Giving GMass Google Sheets permissions (the final permissions needed)
Click on the Google Sheets button next to the Gmail search bar. (No, that button hasn’t been there all along; GMass adds it to the interface.)

Since this is your first time, you’ll need to give GMass permissions to access Google Sheets. Click “Sign up with Google” to do so. This is the last of the permissions for the process.

Choose your account in Google’s pop-up window.

Click “Allow” to give GMass permission to access your Google Drive files and Google Sheets spreadsheets.

You’re now all set up with GMass and Google Sheets.
Connecting to your Google Sheet
Now we’re done with permissions. And unless Google forgets about the authorization down the road (which it might do from time to time), you won’t have to go through this whole permission-granting process again.
To connect to the Google Sheet, click that Google Sheets button again.
You’ll see a pop-up window where you can choose your Google Sheet. Choose your Google Sheet for this campaign from the dropdown.
Since this is the quickstart guide, we won’t get into the “Optional Settings” section here. You can read more about the optional settings in our article on Google Sheets mail merges.
Click on the Connect to Spreadsheet button.

As you can see from the alert, GMass takes all the emails from your Google Sheet and declutters them into one alias email address. GMass also hides the regular Gmail send button so you don’t accidentally click it to send your email. (After all, then the emails wouldn’t go out individually. And if you use merge tags, they won’t be filled in.)

But more important than the nuances — you’re set! You’ve connected your Google Sheet to your new GMass email campaign. Now let’s compose the email.
Composing Your First Email Campaign
One of the best parts of GMass is it works 100% inside Gmail — so composing your mass email is just like writing a regular email.
I whipped up a quick email here; you can write whatever you want.

Adding mail merge personalization
You can use GMass for personalizing virtually every aspect of your email. (Check the bottom of this guide for all sorts of personalization features.)
For this quickstart guide, we’ll use the most basic mail merge personalization of all: Adding a first name.
In your email, go to the spot where you want to add someone’s first name. Then type a left curly brace {. A list will appear with all the column names from your Google Sheet — those are now your mail merge fields.

Choose the first name field (mine is FirstName). When you send this email by pressing the GMass button, it will fill in every recipient’s first name in that spot.

But what if you don’t have every first name filled in on your Google Sheet? You can add a fallback value here, which GMass will insert if that field is empty on your sheet. Add a fallback by putting a pipe | after the merge field and typing in your fallback.

Checking the GMass settings
Your email is all set. Let’s take a quick look at the GMass settings before we send.
To pull up the settings for your campaign, click the little down arrow next to the GMass button.

You can tweak your campaign in lots of different ways here in the settings. At the bottom of this quickstart guide we have links to many of the different options. I won’t alter any of these for this quickstart test campaign but feel free to mess around however you’d like.

Sending Your First Campaign
Everything is ready to go. Time to send this out!
And sending your campaign is as simple as clicking the GMass button.

GMass lets you know once it has sent the emails.

Checking your campaign stats
You can check your campaign stats in a few different ways (here’s our page all about campaign reports).
One quick way: Click the dashboard icon next to the Gmail search box.

That will bring up your GMass dashboard, where you can see your campaigns. You can get a quick overview of your campaign stats here.

Or click on the chart icon to see the web-based report on your campaign stats.

That web-based report is sharable too, if you want to give access to other people to see your campaign stats.

Next Steps: Digging Into More GMass Solutions
Congratulations! You just sent your first personalized mass email campaign from your Gmail account.
So what’s next?
Check out our in-depth startup guides
We’ve created more in-depth startup guides specifically around the ways people use GMass.
Check out whichever guide(s) are relevant to you to learn specifically how GMass will solve your email problems and make everything faster and easier for you.
- Startup Guide for Cold Emailers – if you’re planning to send outreach campaigns.
- Startup Guide for Email Marketers – if you’re going to send opt-in messages like newsletters.
- Startup Guide for Mail Merge – for all mail merge campaigns, whether mass emails or to small groups.
- Startup Guide for Sending Every Email Through GMass – join the power users who send all their emails through GMass.
Your big questions: Unlimited sending and deliverability
The two biggest questions we get are: How do I break Gmail’s limits to send unlimited emails… and how do you help me get my emails to the inbox?
- Here’s our guide to sending 10,000+ emails with GMass. You’ll learn about the different options for breaking Gmail’s limits to see which works best for your situation.
- And here are our deliverability boosting features, including Spam Solver and email address verification.
Digging deeper into GMass’s features
From here, you can head off to send more campaigns or you can dive into more of what GMass has to offer.
Here is a massive list of helpful links to guide you through much of what GMass has to offer. We’ve put a ⭐ star next to the techniques we recommend learning about next!
Enjoy. And we wish you all the best in your email future.
Building mailing lists
- How to build a new mailing list from a Gmail search or a Gmail label
- How to use segmentation to create a new campaign based off recipient behavior (e.g., a new campaign to everyone who opened but didn’t reply)
- How to filter out contacts in a Google Sheet
- How to send to multiple lists in a single campaign with GMass Multi Merge
Personalization
- ⭐ A guide to mail merge personalization with GMass
- How to personalize links
- How to personalize attachments
- How to personalize images
- How to personalize entire paragraphs
- How to personalize the CC or BCC address
- How to personalize the To header or the Reply-To address
- How to use conditional logic for advanced personalization
- How GMass can figure out your contacts’ names for you
- How to use beat tracking features to see who listens to your mp3 attachments and for how long
GMass campaign settings
- An overall look at the GMass Settings box
- How to use templates in GMass
- How to use custom HTML in GMass
- ⭐ Creating emails as drafts before sending
- How to schedule emails for the future (and optionally skip specific days (like weekends or holidays)
- How to edit a scheduled campaign
- How to throttle sending speed
- How to send new campaigns as replies to prior conversations
- How to use embedded images
- How to skip logging sent emails to the Sent folder
- How to set the preview text for a campaign
- How to set an internal name for a campaign
Automation, auto follow-ups, and sequences
- ⭐ How to create auto follow-up sequences
- ⭐ How to send triggered emails that go out instantly when someone opens or clicks
- How to stop an auto follow-up sequence if anyone at a domain replies
- How to create a drip series
- How to test an entire sequence
- How to create a recurring campaign that goes out automatically when you add new contacts to a Google Sheet
Reply management
- An overview of how GMass manages email replies (and can tell the difference between real replies and autoresponders)
- How sentiment analysis on replies spots positives and negative responses
- How to use The Reply Project to respond to replies at blazing speed
List management (plus unsubscribes and bounces)
- How to use suppression lists to remove recipients from campaigns
- How to add an unsubscribe link to your email
- How to add list-unsubscribe headers to your emails
- GMass’s automatic unsubscribe management and automatic bounce management
- How to add, remove, or ignore emails on your unsubscribe list or add, remove, or ignore emails on your bounce list
- How to use global unsubscribes so you don’t email anyone who unsubscribed from a teammate
- How to use global bounces so you don’t email anyone who bounced for a teammate
Deliverability tools
- ⭐ How to set up a custom tracking domain
- ⭐ How to use GMass Spam Solver to test whether a campaign is likely to hit the inbox or spam folder — and then learn how to fix it
- ⭐ How to set up SPF, DKIM, and DMARC
- How to use GMass’s email address verification on your list
- GMass’s approach to email verification vs. other email verification services
- How to use the GMass Email Analyzer to see the entire behind-the-scenes technical journey of an email
- How to use the GMass Email Deliverability Wizard
- How we can help non-commercial senders optimize deliverability
- See deliverability stats for (almost) every domain you email
Breaking Gmail’s sending limits
- ⭐ How to use GMass MultiSend (inbox rotation) to distribute a single campaign across multiple sending accounts
- ⭐ How to send 10,000+ emails in a day with a third-party SMTP server
- How opt-in senders can use GMass’s own SMTP server to break Gmail limits
- ⭐ How cold emailers can use GMass’s ColdSMTP sending server to send campaigns
Technical integrations
- How to use GMass’s transactional SMTP relay to send transactional emails through Gmail
- How to use the GMass API
- How to use GMass webhooks
- How to use the GMass Zapier integration
- How to integrate GMass and Salesforce
Reporting
- How to turn off click tracking (or just turn off click tracking on specific links)
- An overview of campaign analytics in GMass
- How to update a Google Sheet with reporting data
- Why you might have a 0% open rate and how to fix it
And more!
- How to run an A/B test on your email campaign
- How to set up a simple email poll
- The benefits of using GMass for teams
- The GMass blog, featuring multiple new articles every week