You can now automatically detect a person’s first name just from their email address, and then use that name to personalize your email campaign. This is a world’s first for email marketers using Gmail as their email marketing platform.
The algorithm works purely by analyzing of the email address characters and doesn’t query any APIs that provide demographic data on email addresses.
I ran my test on an actual campaign to my users announcing a couple new features (but not this feature). Here’s a screen shot from my Sent folder of my own Gmail account:

The green rows indicate rows where the first name was correctly determined, while the red ones indicate an incorrect guess
As the above screen shot shows, the algorithm guessed the recipient’s first name in most cases. Only 5 out of this sampling of 50 produced an incorrect guess, and the unmarked rows are ones where the first name was impossible to guess because it wasn’t present in the email address.
How do you use it?
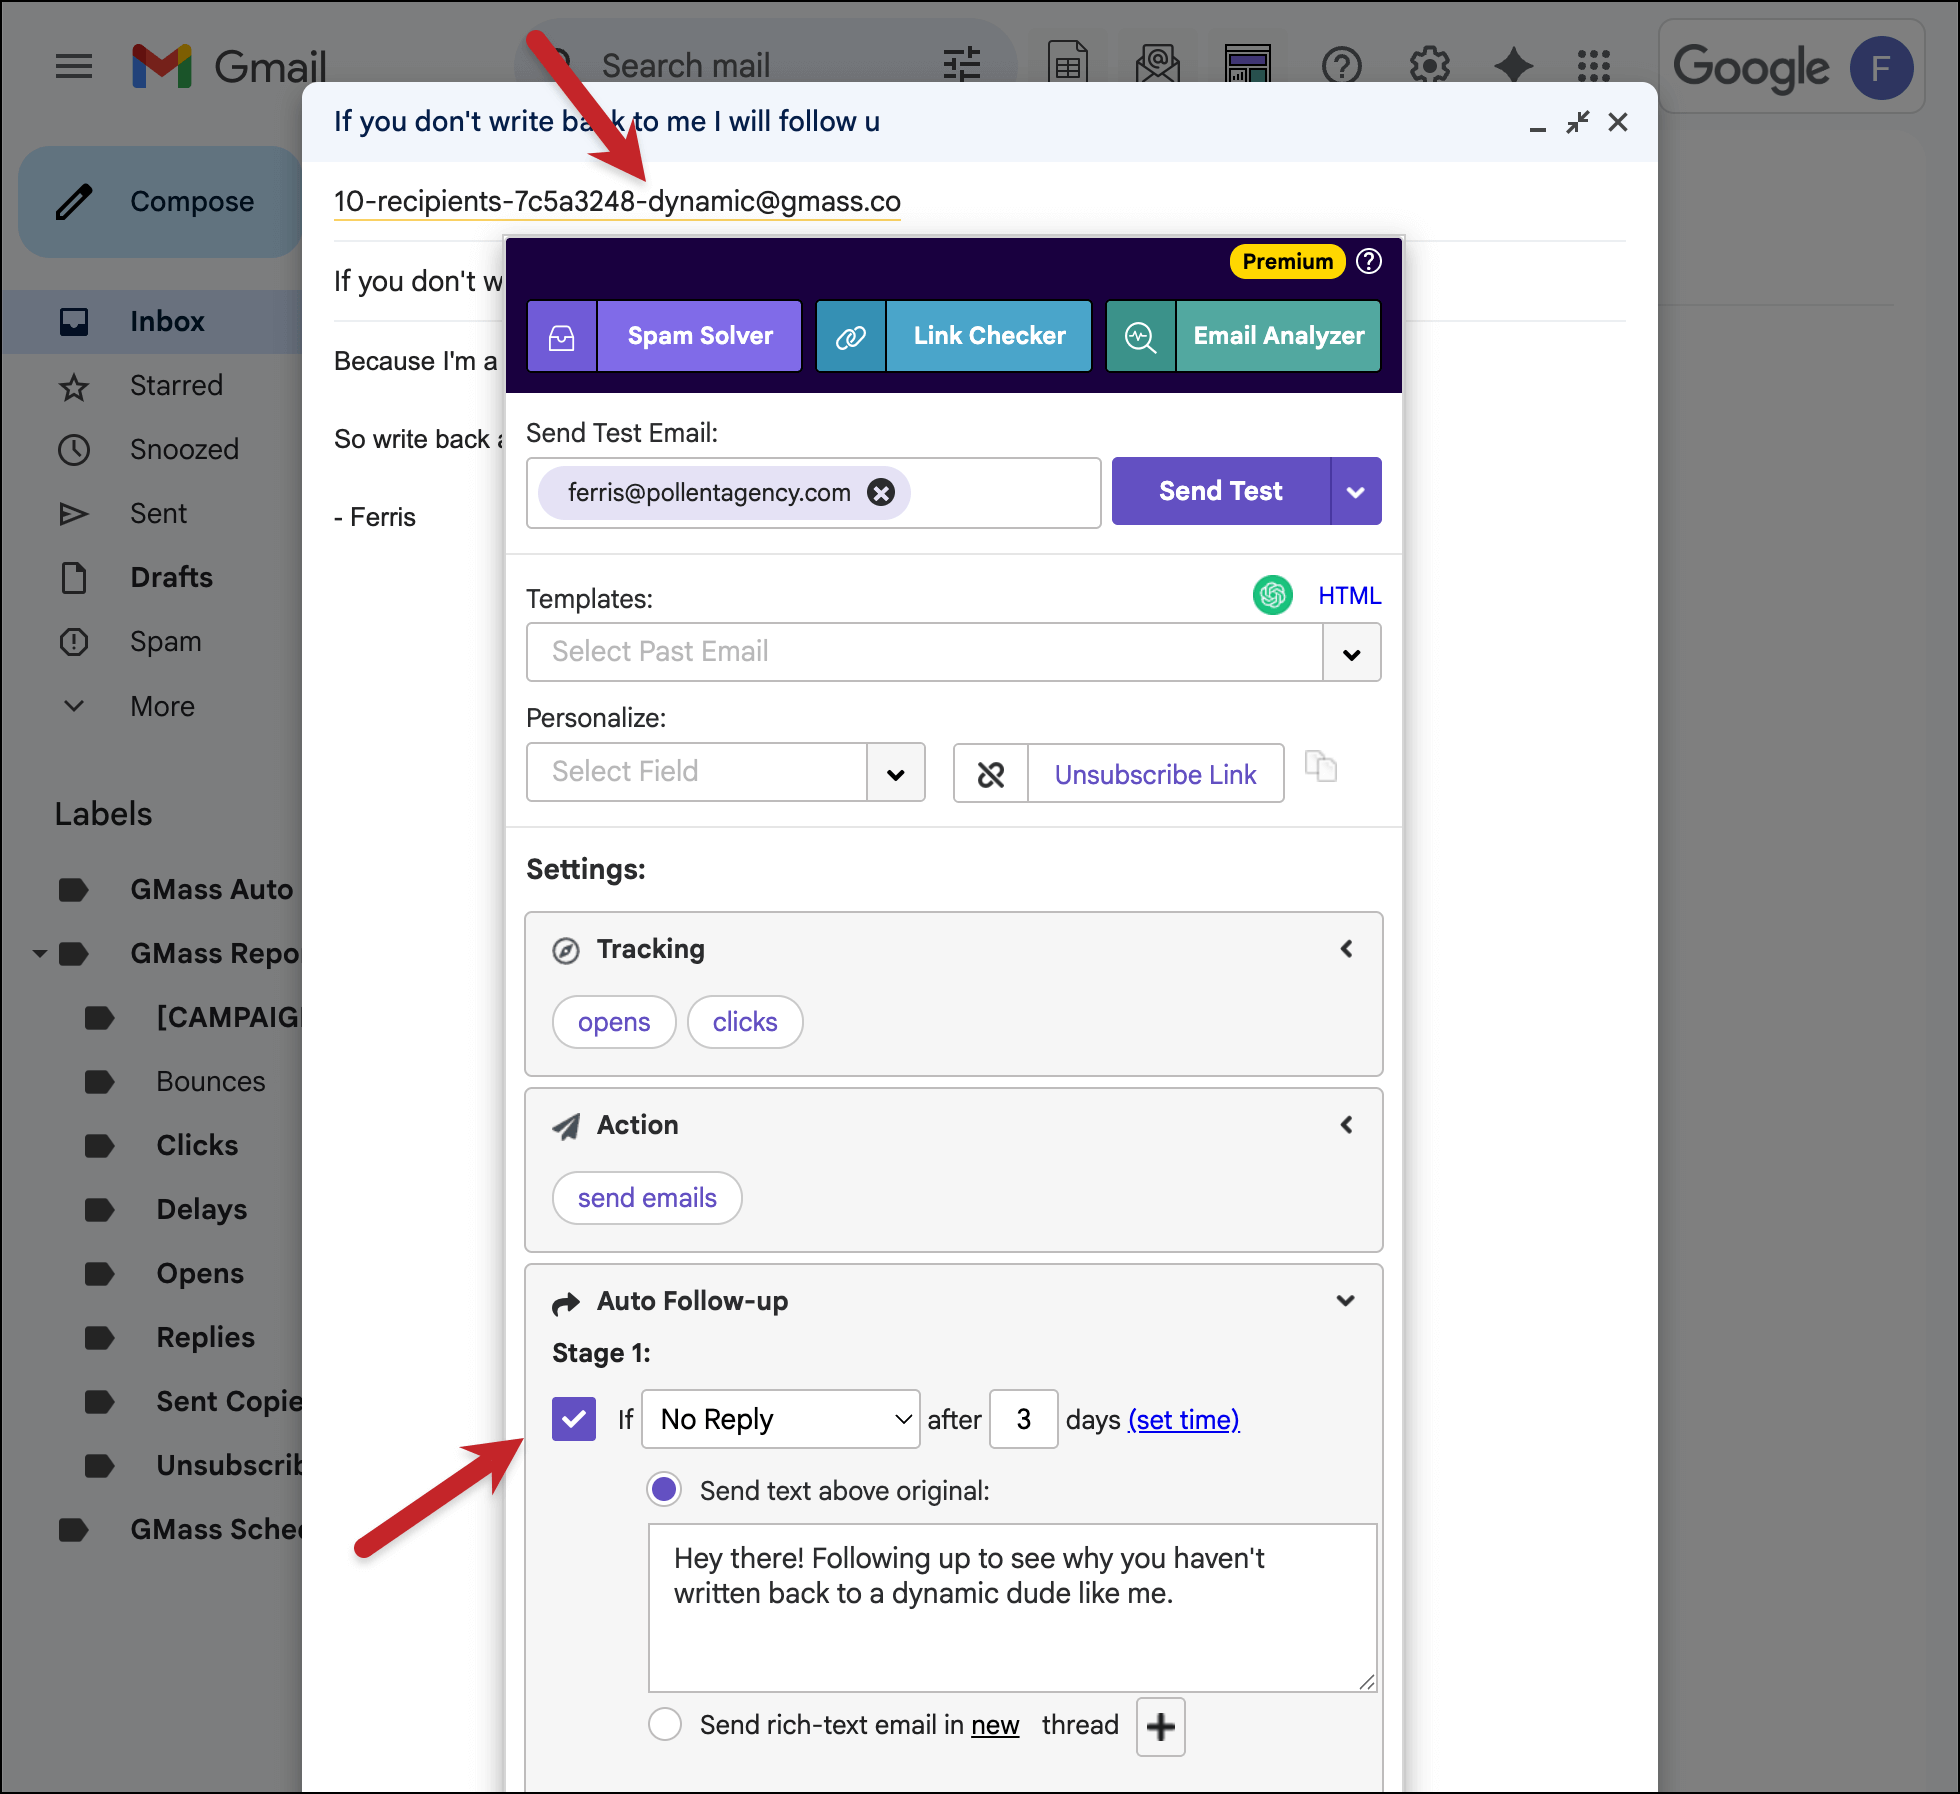
Just insert the personalization variable {auto-first} anywhere in your Subject or Message, and GMass will insert the recipient’s first name, based on the recipient’s email address.
Note that first name detection algorithm isn’t perfect — it works in approximately 90% of cases, and can only work if the actual first name is present in the local part of the email address (the part before the @ sign).
Because it’s not 100% perfect, it is not recommended that you use the {auto-first} personalization tag as a standalone personalization technique. Instead you should:
- Set a fallback value to use with {auto-first}. For example, use {auto-first|Customer}. That way, if GMass detects the first name, it will be used. If it can’t detect the first name, the fallback value of “Customer” will be used.
- As a further protective mechanism, and because even when the first name is present in an email address, GMass might not always choose the exact first name, use the “Just create Drafts” feature to preview each individual email first, before sending. That way, you can spot check the Drafts to make sure that the first names were generated properly before sending.
Fallback Values
In our Complete Guide to Personalization, you’ll learn how to set two fallback values. Let’s say you’re connecting to a spreadsheet with the columns: First, Last, Email. And let’s say some of the values for “First” are blank. So in these cases, you want GMass to auto-detect the first name. But then let’s say that GMass is unable to auto-detect the first name in a few of these cases. You can set two fallback values using this syntax:
Hi there {FirstName|auto-first|old friend}
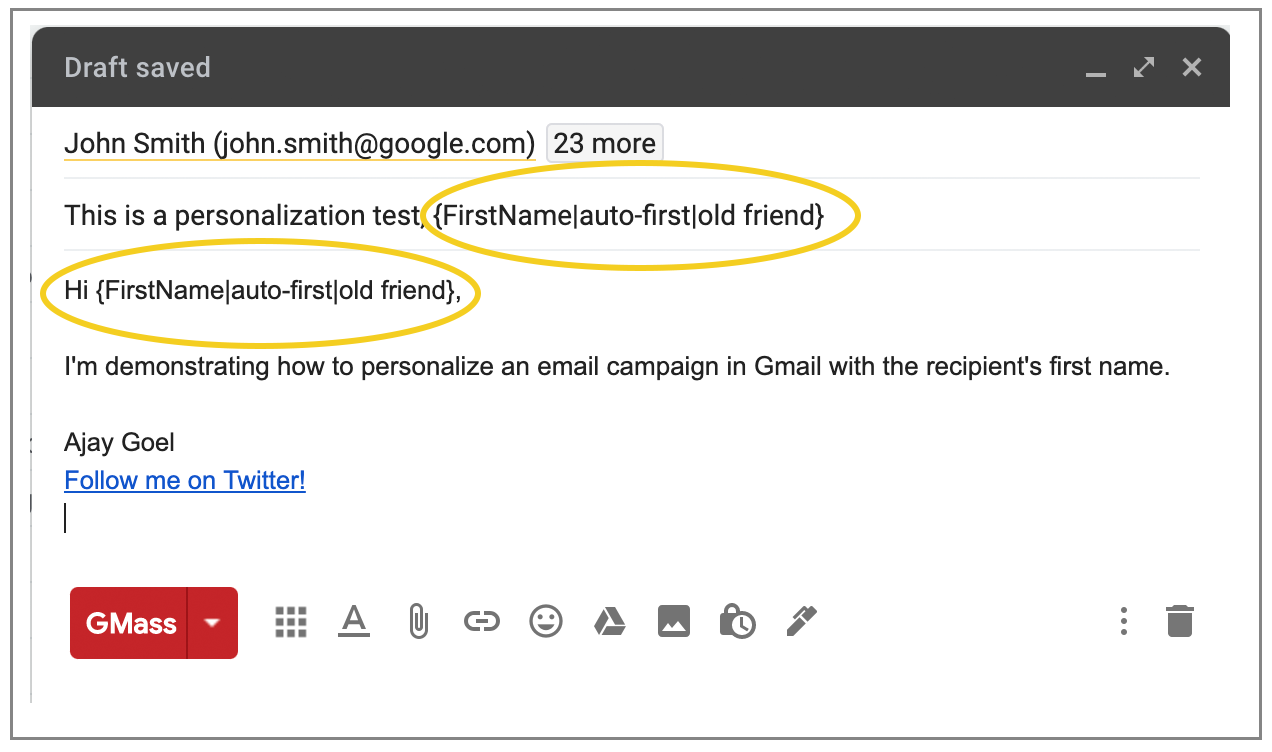
The first name auto-detection feature isn’t part of the GMass interface yet, so you won’t find a button in the Settings Panel to insert the {auto-first} designation. You have to type it or copy/paste from this post manually into your Subject or Message. In this case, if “FirstName” has a value in your spreadsheet, it’s used. If not, GMass will attempt to auto-detect the first name. If GMass can’t auto detect the first name, then the text “old friend” will be inserted.
Only GMass packs every email app into one tool — and brings it all into Gmail for you. Better emails. Tons of power. Easy to use.
TRY GMASS FOR FREE
Download Chrome extension - 30 second install!
No credit card required

Ajay is the founder of GMass and has been developing email sending software for 20 years.